
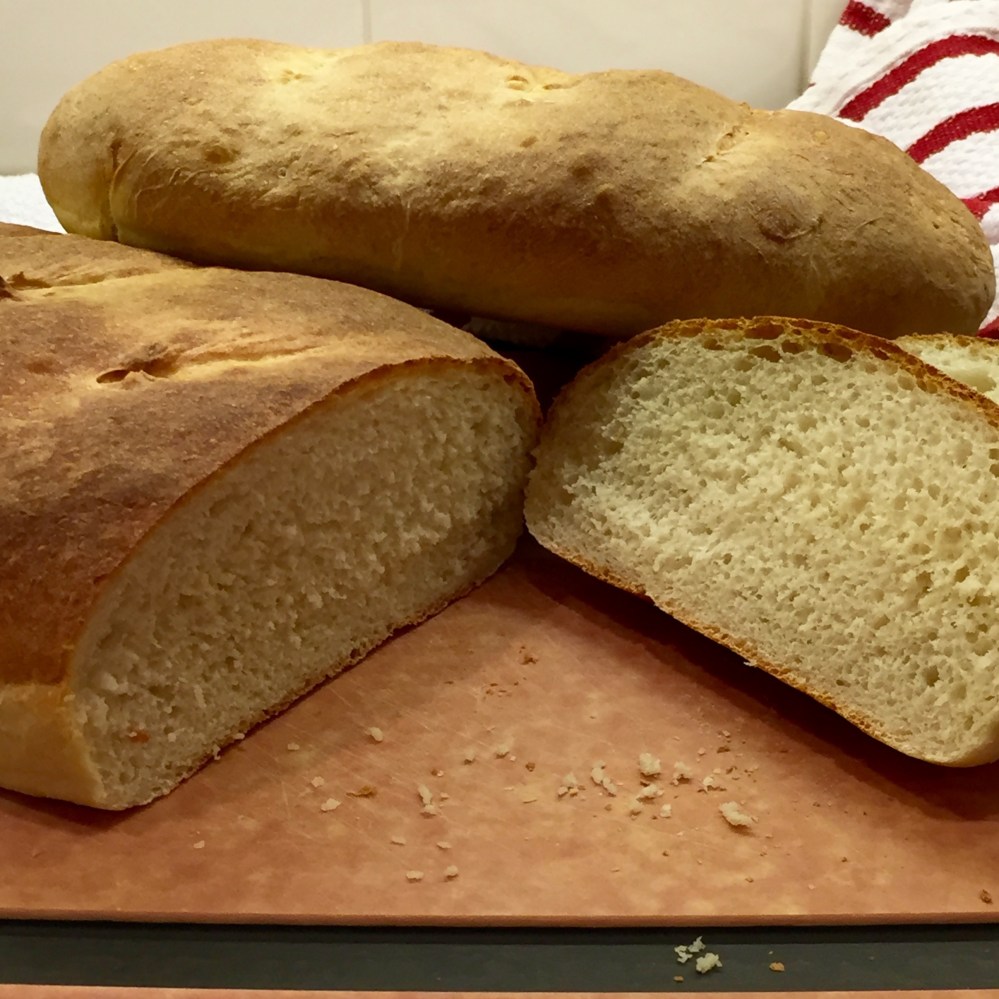
King Arthur recommends this recipe for beginning sourdough bakers, so I dutifully started here. It’s an easy recipe that makes a tasty, dependable loaf of bread. If you’re new to sourdough, it really is the perfect introduction. Who doesn’t like knowing that no matter how vigorous their starter is (or isn’t), this loaf will turn out great? But.
Now, I fully acknowledge that I’ve only been making sourdough for a few months, and as a relative newbie it’s terribly presumptuous of me to have an opinion of what “real” sourdough is. Have at it in the comments if I’m stepping on toes here, okay? But in my not-humble-enough opinion, “real” sourdough has four ingredients. Flour, water, salt, and time. If you have to put commercial yeast in to get it to rise, or citric acid to get enough tang, then just call it “bread.” Okay, so maybe that sounds a little harsh. But the truth is that although this bread is delicious, it just doesn’t taste enough like sourdough to me. My Chief Taste Tester agrees, as does my youngest, who came up with the name “Sour-faux.” Don’t get me wrong, this is a great loaf of bread, and there’s just enough tang to let you know it’s not Italian bread. So if you’re new to sourdough, by all means, start here. You’ll love the bread, and you’ll build up some experience using your starter.
Some people prefer baking to cooking because of its precision. Follow the recipe precisely, and the results will be predictable. You rarely see “season to taste” in bread recipes. When you’re inexperienced, you don’t want vague directions. You figure a baking recipe will come through time and again. Real sourdough turns that on its head. It’s never the same twice. Ever. That’s why this recipe is a great place to start. Do think of it as just a beginning, though. Because once your starter is well-established, you have a little more experience, and the moon is full, you’re going to want to make the Real Deal. (I’ll post that soon.) You’ll be glad you did!
Some of the terminology sourdough bakers use drives me nuts. Why call for “fed” starter? If you’re being literal, it’s fed the minute you feed it. But that’s not the best time to harvest the starter to use for bread. What they mean is harvest when it’s at its most active. So I prefer the term “ripe”; I think it’s more accurately descriptive. And what I’ve learned is that this could be anywhere from two to eight hours after a feeding, depending on the temperature of your kitchen and the vigor of your starter. While it ripens, it bubbles up and doubles in volume. Then it falls and flattens, and the bubbles diminish or disappear altogether. If you don’t hit it quite right, the worst that will happen is that your bread will take longer to rise. So don’t sweat it too much.

Of course, you’re adding yeast in this recipe, so you have even more flexibility. If the timing of your day requires that you not wait for the starter to ripen (or you miss the window, and the ripe starter has already gone flat), just use the larger quantity of yeast.
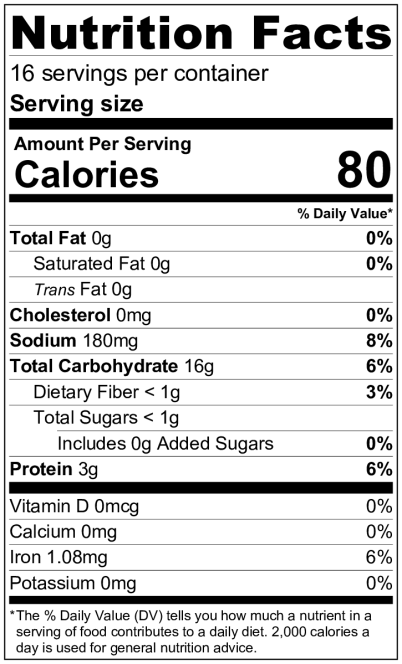
Note: The recipe and nutrition label are for a single loaf; the pictures are from when I made a double batch.
Ingredients:
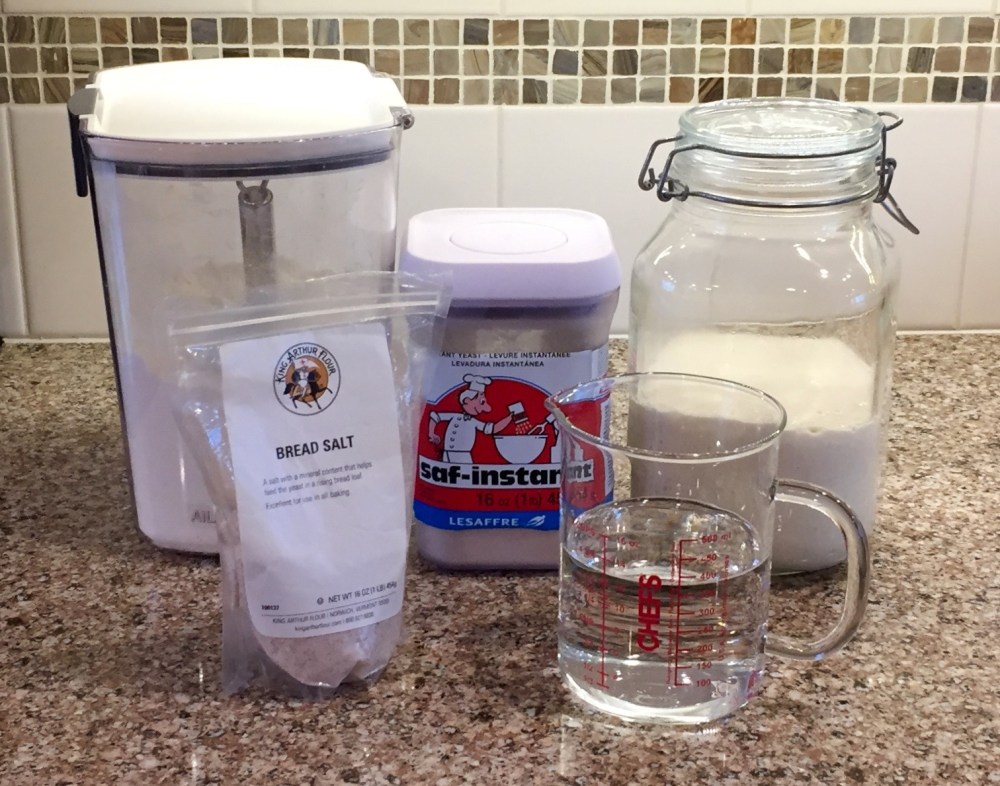
½ cup ripe Sourdough Starter (about 120 g, or 4¼ oz)
¾ cup (180 ml) lukewarm water
½ to 1 teaspoon instant yeast
1¼ teaspoons salt
2½ cups (300 g) unbleached all-purpose (plain) flour
Preparation:
1.) Mix all ingredients in the bowl of a stand mixer, using the paddle attachment. Switch to the dough hook and knead until smooth, about 5 minutes on setting 2.


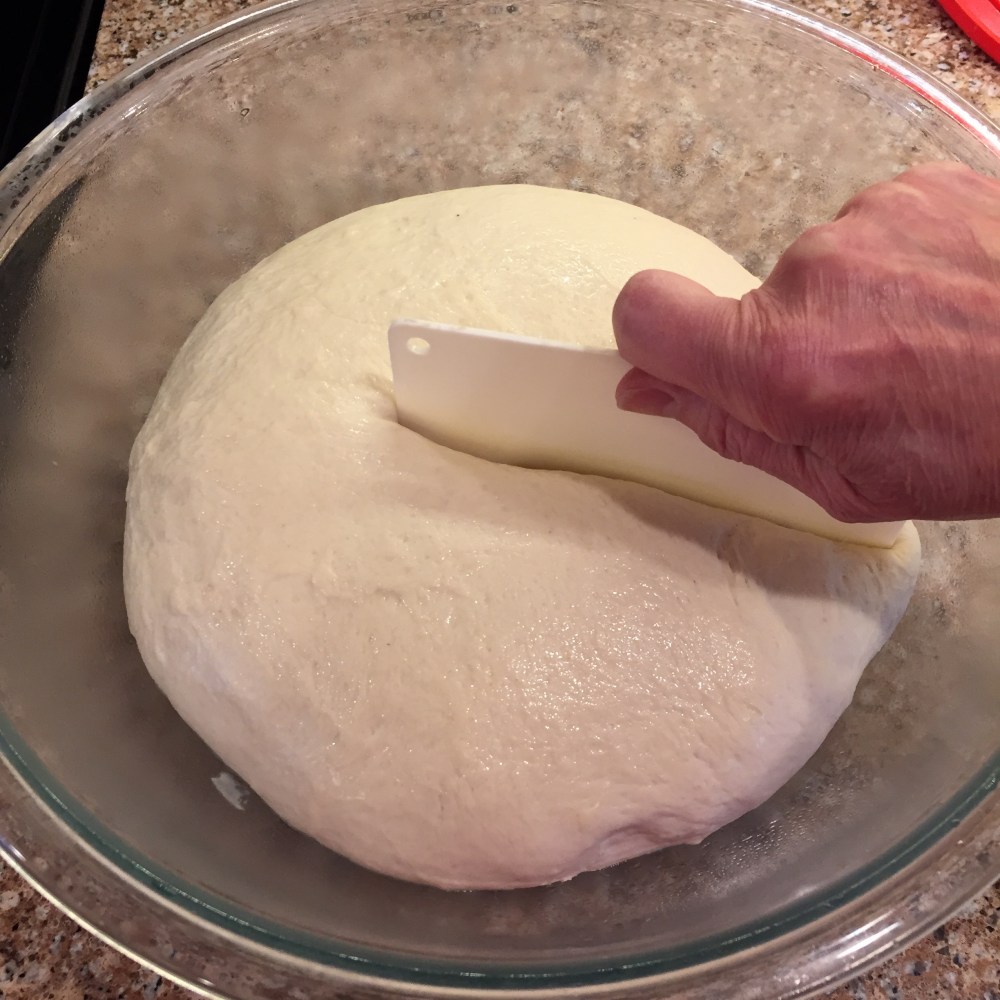
2.) Transfer the dough to a lightly oiled bowl or dough bucket. Let rise about an hour and a half, or until it has roughly doubled in size.


3.) If you’re making a double batch, divide the dough in half now, and don’t worry if it deflates a bit.
4.) Gently form the dough into ovals or logs. Place them on a parchment-lined baking sheet and cover with lightly oiled plastic wrap. Let the dough rise again until very puffy, but not necessarily doubled, about an hour. Towards the end of the rising time, preheat your oven to 425º F (218º C).


5.) Spray the loaf generously with lukewarm water. Slash the loaf and pop in the oven. Bake for about 25 minutes, or until the top is a deep, golden brown. Transfer to a rack to cool.


½ cup ripe sourdough starter (about 120 g, or 4¼ oz) ¾ cup (180 ml) lukewarm water ½ to 1 teaspoon instant yeast 1¼ teaspoons salt 2½ cups (300 g) unbleached all-purpose (plain) flour 1.) Mix all ingredients in the bowl of a stand mixer, using the paddle attachment. Switch to the dough hook and knead until smooth, about 5 minutes on setting 2. 2.) Transfer the dough to a lightly oiled bowl or dough bucket. Let rise about an hour and a half, or until it has roughly doubled in size. 3.) If you’re making a double batch, divide the dough in half now, and don’t worry if it deflates a bit. 4.) Gently form the dough into ovals or logs. Place them on a parchment-lined baking sheet and cover with lightly oiled plastic wrap. Let the dough rise again until very puffy, but not necessarily doubled, about an hour. Towards the end of the rising time, preheat your oven to 425º F (218º C). 5.) Spray the loaf generously with lukewarm water. Slash the loaf and pop in the oven. Bake for about 25 minutes, or until the top is a deep, golden brown. Transfer to a rack to cool. Rustic Sourdough Bread: Delicious, Dependable Sour-faux
Ingredients
Directions

Sounds perfect😍
LikeLiked by 1 person
Thanks!
LikeLiked by 1 person
Youre welcome
LikeLiked by 1 person
I always wanted to cook bread and I thought it’s really hard but with these pictures and recipe I think I can make it. Thank you!
LikeLiked by 2 people
I’m glad you found them useful! If you’ve never baked bread before, you might want to start with French Honey Bread or Portuguese Bread – they don’t require any sourdough starter. Let me know how you make out!
LikeLiked by 1 person
Thank you.
LikeLiked by 1 person
You’re quite welcome!
LikeLiked by 1 person