
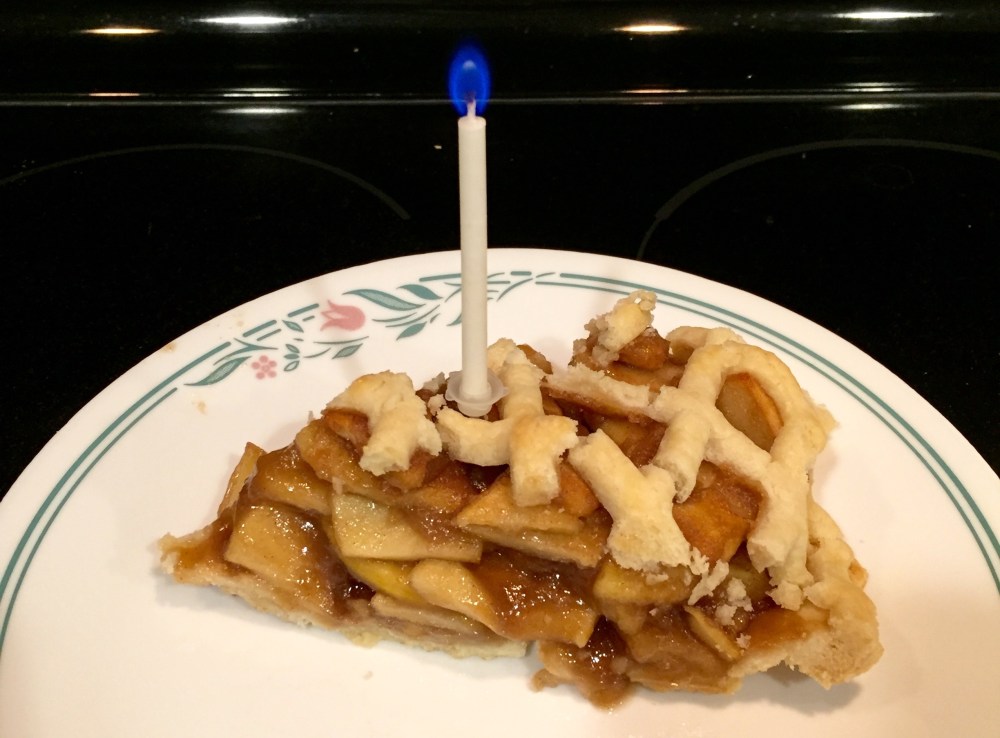
It’s election Day 2016, and there’s a lot of anxiety in the USA. So this anxious mother is posting the quintessential American comfort food: Homemade Apple Pie. Because we could all use a little comfort, today and every day!
There are few foods as wonderful as homemade apple pie. I spent many years & many pies tweaking my recipe to get it right where I wanted it. I know, you feel really sorry for my family, don’t you? All those pies to eat… Having my very own pie recipe was pretty cool, & I swore I’d only ever give it to family. So my family is probably pretty surprised to see it here! (Why the candle? Because I made this last week for my husband’s birthday. He much prefers birthday pie to birthday cake!)
The thing is, though, that a pie I bake is no less delicious just because someone else has my recipe, right? It’s still a pie I baked with my own two hands, and it still has every bit as much love baked into it. So why not share it with the world? The world could use a lot more love!
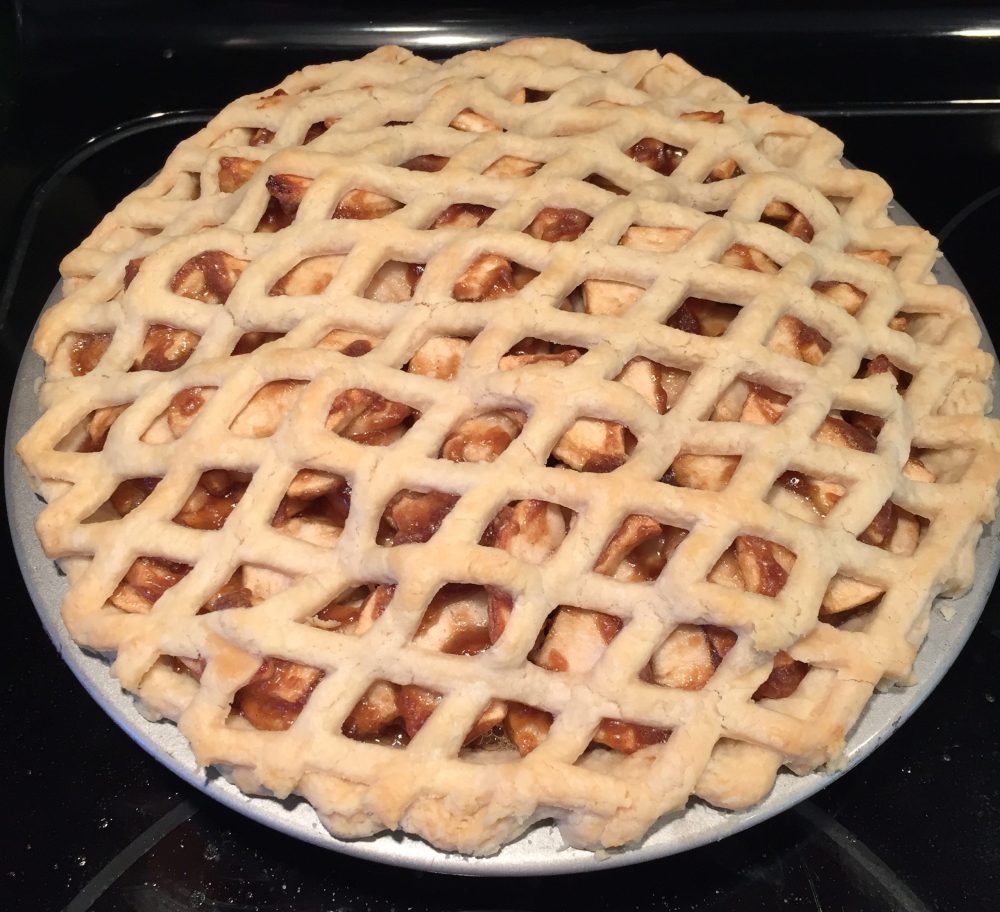
When I first began baking apple pies, I was a purist about the top crust. Nothing would do but a real lattice, woven from strips of crust I’d cut precisely the same width. I even had a dedicated plastic ruler. I freely admit, that’s the most beautiful way to make a top crust. Gold standard, and all that. But it does take more time, and unless your kitchen, crust, and hands are all just the right temperature, it can be pretty frustrating. I decided I’d rather bake less perfect pies more often, instead of beautiful pies rarely. Enter the crust lattice-maker. This was years ago, & I can’t remember where I bought it, but as I recall it was German. The closest thing I’ve found to mine is this one. So my pies aren’t as pretty as they could be, but I’m more about how they taste. The other cool thing about the lattice maker is crust cookies! I hate to let any pie crust dough go to waste, not after making it myself. So I turn all the little scraps into crust cookies. It gives us all a little something to snack on while we wait for dinner. Well, when I say “us all,” I mean “anyone who can get a few before I eat them all.” I sprinkle them with cinnamon sugar before baking. I make it by eye – put some sugar in a small bowl, sprinkle in some cinnamon, stir, taste, repeat. I use regular cinnamon for this. To be specific, Penzeys Vietnamese Cinnamon, but any cinnamon will do, or you can even buy pre-mixed cinnamon sugar.
Another gizmo I love is my corer/peeler/slicer. My recipe uses 9 cups of apples, which is a lot of peeling & cutting if you have to do it by hand. Whoever invented this thing was a genius. This one is pretty much the same as the one I use, but there are quite a few companies that make them. Impale your apple on the prongs, turn the crank, & you’ve peeled, sliced, & cored, all in one fell swoop!
As with most cooking, the ingredients you choose can make a huge difference in the outcome. One of my favorite “secret ingredients” has been a product called Signature Secrets from King Arthur. It always did an excellent job thickening the filling without adding any off-taste or odd texture. Unfortunately, they don’t have it anymore. This is very, very sad! I’ve taken their advice and switched to their Instant Clearjel, but the jury is still out on whether it’s an adequate replacement. I don’t much care for the flavor & texture of flour or cornstarch as a thickener, although that might be all in my head.
Another ingredient that makes a big difference in the pie flavor is the spices. My recipe calls for freshly ground nutmeg. It has a brighter flavor than the jarred kind, which can be a bit musty. And after trying several cinnamons, I’ve yet to find anything I like nearly as well as Penzeys Ceylon Cinnamon. It’s sweet and smooth, which really pulls all the flavors in the filling together and perfectly melds them.
I’ve saved the most crucial ingredient for last: the apples. The apples you use are critical. Too soft, and you get mushy pie. Too hard, and the pie is crunchy. Too sweet, and there’s no flavor. I don’t think there’s such a thing as too tart. Maybe there is, but I have yet to encounter it. The fresher your apples, the better your pie. Some grocery stores will carry local apples in the Fall. (Shoutout to Wegmans, who have been featuring local produce since before it was a thing.) Or, if you’re fortunate enough to live near orchards, you can go pick your own or buy them at the orchard farmstand. Many people swear by MacIntosh for baking. I will only use them under 2 conditions: either the farmer tells me they’ve just been picked & are still firm & tart (or lets me try one to see for myself), or the only other choice is Delicious (which has no flavor at all, in my opinion). Even then, I might rather wait a week or two for a better variety. Macs just get way too mushy for my taste. My favorite is one called Fortune. I’ve never seen it in a grocery store, and it isn’t always available even from the orchard. I gather they’re rather susceptible to the vagaries of Upstate New York weather. Northern Spy is an excellent choice, but you can’t always find those either. Mutsu (also known as Crispin) is my usual substitute if I can’t get Fortune. It’s a little firmer, so you may need to lean towards the longer cooking time, but the flavor is excellent. In a pinch, Cortland or Empire (both varieties developed in New York State) are adequate choices, so long as they haven’t gone soft, but you’ll want to shorten the baking time a bit because they soften up pretty quickly. If I’m stuck and have to use grocery store apples, I’ll go for Granny Smith. When you’re peeling, coring, & slicing, be sure to taste one of the apples. If it’s too bland or too sweet, add a little extra lemon juice. If it’s incredibly juicy, add a little more thickener. If it’s too tart, use less lemon juice. Most of the time, though, this recipe is very forgiving. It’s pretty rare to need to adjust anything. In fact, I can’t remember the last time I did! You’ll find a printer-friendly version of the recipe at the bottom of this page.
Ingredients:

6 – 10 apples, depending on size (there are way more in the photo than I need)
¾ cup dark brown sugar
⅓ cup granulated sugar
1½ tsp Penzeys Ceylon Cinnamon
⅛ tsp salt
⅛ tsp freshly grated nutmeg
3 Tbsp Instant Clearjel
2½ Tbsp chilled butter
1½ tsp vanilla extract
2 Tbsp fresh lemon juice
cinnamon sugar
Preparation:
1.) Make your pie crusts. Place one in a metal pie dish, flute the edges, & pop it in the freezer. Place the other, wax paper & all, on a flat cookie sheet. The cookie sheet is just there to keep the crust in place when you flip it over. Carefully peel off the top piece of wax paper. Center the lattice maker upside down on the bare crust. Holding everything together, flip it so now the cookie sheet is on top, & you can take it off. Roll over the top of the remaining wax paper, to press the crust down into the lattice.


Remove the second piece of wax paper, and gently lift the grid out. Set aside until filling is done.


2.) Preheat the oven to 450°F. Line a rimmed pan with parchment or foil for the crust cookies. Shake out all the little diamond shapes from the lattice-maker onto the pan in a single layer. Set aside.
3.) Place the granulated sugar, brown sugar, cinnamon, salt, & nutmeg in the bowl of a food processor. Pulse until well-blended. Add the Instant Clearjel, and pulse again until blended. Cut the butter up into pieces, add to the bowl, and pulse until incorporated. It doesn’t need to be smooth, just pulse until the butter chunks are pretty small. Set aside.


4.) Combine lemon juice and vanilla extract in a small prep bowl, and set aside.

5.) Peel, core, & slice your apples. You’ll need 9 cups of apples. If you can get your hands on one of these gizmos, it will be a whole lot easier! Line up the apple, stem toward the prongs & stern toward the corer hole. Press onto the prongs.


As you pull each apple off, trim any bits of peel or core that snuck through, then cut the slices into quarters, measure, & pile in a very large bowl.


I can’t even count the times I got most of the way through prepping the apples, only to forget how many cups I’d already put in the bowl. So, I devised a simple yet effective system. When I put the first cup of apple slices in the big bowl, I place a ~4″ long piece of apple peel by the bowl. Whenever I put another cup in, I break off a piece of that peel. So the little pile of peels next to the bowl always has exactly the same number of pieces as there are cups of apples in the bowl.


6.) When all your apples are in the bowl, pour the lemon juice and vanilla mixture over them & stir gently. Then add the sugar & spice mixture, and stir that gently as well.


7.) Fetch your frozen pie plate, and pile the apple mixture in it. It will be rather tall, you may have to press down just a bit to keep it from tumbling over. Don’t worry, it will settle quite a bit while baking. Then lay your latticed crust over the top of the filling. Starting at one edge, lift the plastic and gently loosen the crust. Gravity will do the work for you, with considerably less breakage than if you force it. Once you’ve removed the frame, gently press the lattice crust to the fluted bottom crust. It isn’t necessary for it to actually stick.


Trim off any excess, and save the trimmings. Place a crust shield (you can make one out of aluminum foil if you don’t have one) on the pie, and pop it in the oven. Bake for 10 minutes at 450°F.


8.) While the pie begins its baking, add your crust trimmings to the crust cookie pan, and sprinkle the lot with cinnamon sugar. Be generous! Pop that in the oven on a lower rack.

9.) When that first 10 minutes are up, turn the heat down to 350°F. Bake another 20 minutes. Check the crust cookies right as you turn the heat down. They’re often done by now or might need a minute or two more. Don’t leave them in for the whole 20 minutes, though, or they will burn. Remove them when they’re golden. If you’re lucky, some of the sugar will have transformed into cinnamon candy!

10.) After the 20 minutes is up, remove the crust shield. Bake another 10 – 20 minutes, until the pie crust is golden and the filling is bubbling. Remove from the oven to a wire cooling rack. Let cool to room temperature before serving.
Homemade Apple Pie With Crust Cookies
Ingredients
2 Single Pie Crusts
6 – 10 firm, tart apples
¾ cup dark brown sugar
⅓ cup granulated sugar
1½ tsp Penzeys Ceylon Cinnamon
⅛ tsp salt
⅛ tsp freshly grated nutmeg
3 Tbsp Instant Clearjel
2½ Tbsp chilled butter
1½ tsp vanilla extract
2 Tbsp fresh lemon juice
cinnamon sugar
Directions
1.) Make your pie crusts. Place one in a metal pie dish, flute the edges, & pop it in the freezer. Place the other, wax paper & all, on a flat cookie sheet. The cookie sheet is just there to keep the crust in place when you flip it over. Carefully peel off the top piece of wax paper. Center the lattice maker upside down on the bare crust. Holding everything together, flip it so now the cookie sheet is on top, & you can take it off. Roll over the top of the remaining wax paper, to press the crust down into the lattice.
2.) Preheat the oven to 450°F. Line a rimmed pan with parchment or foil for the crust cookies. Shake out all the little diamond shapes from the lattice-maker onto the pan in a single layer. Set aside.
3.) Place the granulated sugar, brown sugar, cinnamon, salt, & nutmeg in the bowl of a food processor. Pulse until well-blended. Add the Instant Clearjel, and pulse again until blended. Cut the butter up into pieces, add to the bowl, and pulse until incorporated. It doesn’t need to be smooth, just pulse until the butter chunks are pretty small. Set aside.
4.) Combine lemon juice and vanilla extract in a small prep bowl, and set aside.
5.) Peel, core, & slice your apples. You’ll need 9 cups of apples.
6.) When all your apples are in the bowl, pour the lemon juice and vanilla mixture over them & stir gently. Then add the sugar & spice mixture, and stir that gently as well.
7.) Fetch your frozen pie plate, and pile the apple mixture in it. It will be rather tall, you may have to press down just a bit to keep it from tumbling over. Don’t worry, it will settle quite a bit while baking. Then lay your latticed crust over the top of the filling. Starting at one edge, lift the plastic and gently loosen the crust. Gravity will do the work for you, with considerably less breakage than if you force it. Once you’ve removed the frame, gently press the lattice crust to the fluted bottom crust. It isn’t necessary for it to actually stick. Trim off any excess, and save the trimmings. Place a crust shield (you can make one out of aluminum foil if you don’t have one) on the pie, and pop it in the oven. Bake for 10 minutes at 450°F.
8.) While the pie begins its baking, add your crust trimmings to the crust cookie pan, and sprinkle the lot with cinnamon sugar. Be generous! Pop that in the oven on a lower rack.
9.) When that first 10 minutes are up, turn the heat down to 350°F. Bake another 20 minutes. Check the crust cookies right as you turn the heat down. They’re often done by now or might need a minute or two more. Don’t leave them in for the whole 20 minutes, though, or they will burn. Remove them when they’re golden.
10.) After the 20 minutes is up, remove the crust shield. Bake another 10 – 20 minutes, until the pie crust is golden and the filling is bubbling. Remove from the oven to a wire cooling rack. Let cool to room temperature before serving.

2 Comments Add yours