

“With bread, all sorrows are less” – Sancho Panza
Just the smell of freshly baked bread can make the day brighter, don’t you agree? And there’s something remarkably therapeutic about working with bread dough. Feeling it come alive in your hands as it transforms from a sticky lump of wet flour into a smooth, elastic, living thing.
After years of using commercial yeast, I decided last year to up my game and try my hand at sourdough. I even learned how to make my own starter. Once I got started with sourdough (pun intended), I haven’t wanted to make anything else! It’s just so flavorful, and so much fun to bake without relying on yeast. It’s been about nine months. I think I’ve bought two loaves of bread in all that time. One rye, just because it sounded good — have you tried rye toast with a thin slice of swiss cheese for breakfast? You should! I don’t eat it often enough to justify buying a whole bag of rye flour and making it myself, so I bought a loaf. The other was whole wheat, I think, that I got after my back surgery before I figured out I could use a foil sling to get a loaf pan into and out of the oven without bending over. Yeah, I’m a little weird. And stubborn. Tell me something I don’t know!
I’ve mentioned a couple of times to my Chief Taste Tester that he should let me know if he gets bored with sourdough. This time, he finally said, “Well…maybe some Italian?”
A traditional loaf of Italian bread is not baked in a bread pan. It’s a thing of beauty, and perfect for tearing off chunks to dip in herbed olive oil or soup. But I find it far too easy to eat more bread than I intended when the loaf is freeform. If it’s baked in a pan, I can use my slicing guide. Finicky of me, maybe, but there it is. I can’t hide behind bigger slices (“But I only had one piece!”) or tear away little bite after little bite from the loaf until suddenly there’s none left. A slice is a slice, and that’s that. So I decided to adapt this recipe for a standard loaf pan. No, that’s not an affiliate link. I don’t do those. I get nothing from King Arthur (though I probably wouldn’t turn them down if they offered), I just like the company enough to want to tell you about it.
You can do a freeform loaf instead if you like; here’s how:
Preheat the oven towards the end of the first rise. After punching down and resting the dough, form it into a log shape without the flattening & rolling steps. Place it on a parchment lined or lightly greased baking sheet. Slash the top a few times, and bake immediately. To slash, use a very sharp knife, razor blade, or baker’s lame. Holding it at a shallow angle, slash two or three times diagonally across the top, about ¼” (0.5 cm) deep. Bake immediately, without waiting for a second rise.
Ingredients:
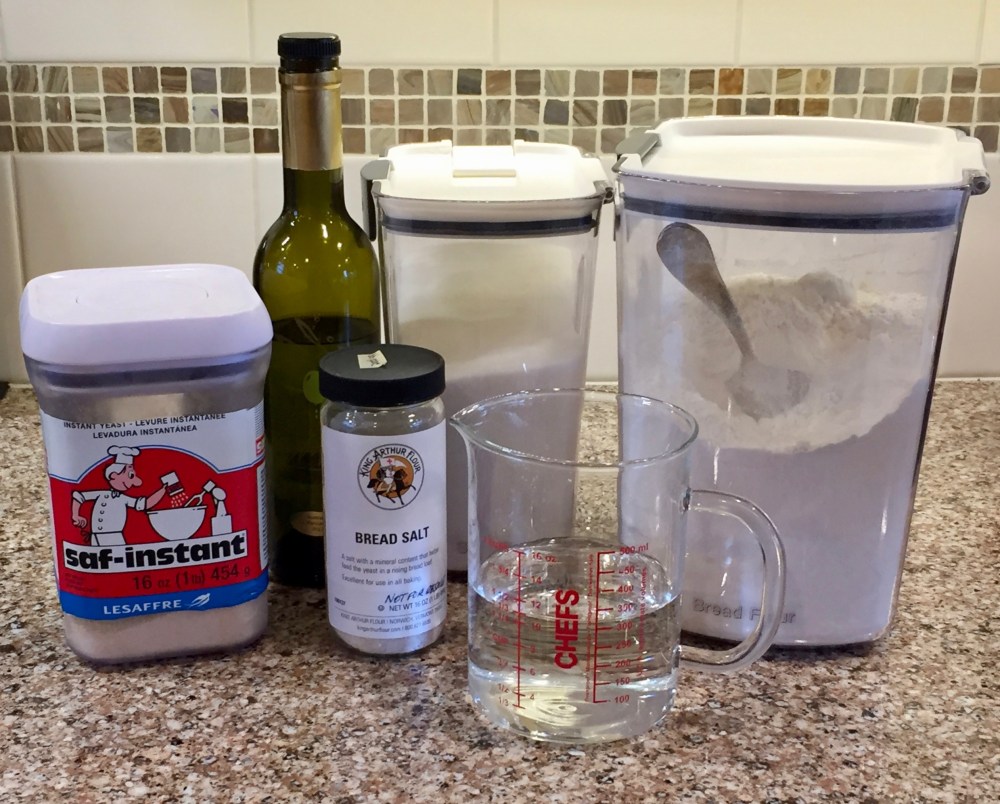
2½ cups (300 g) bread flour
2 tablespoons extra virgin olive oil
2¼ teaspoons (1 packet) instant yeast
1 teaspoon sugar
1 teaspoon salt
1 cup (240 ml) warm water (100° to 110°F or 38º to 43º C)
Preparation:
1.) Place all ingredients in the bowl of a stand mixer fitted with the dough hook. Use the lowest speed to blend the ingredients just enough to keep the flour from flying all over the kitchen.


2.) Gradually increase to medium-low (2 on my KitchenAid) until the dough starts to come together to form a single lump.
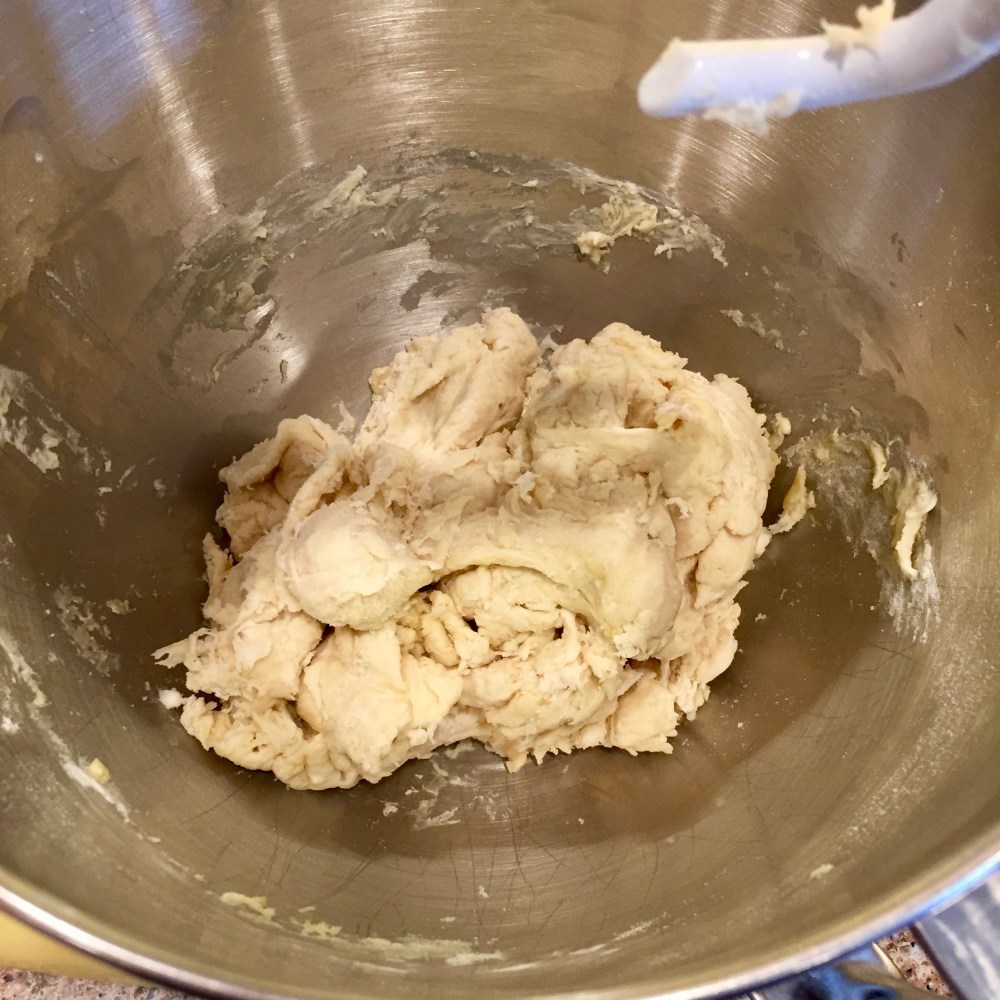
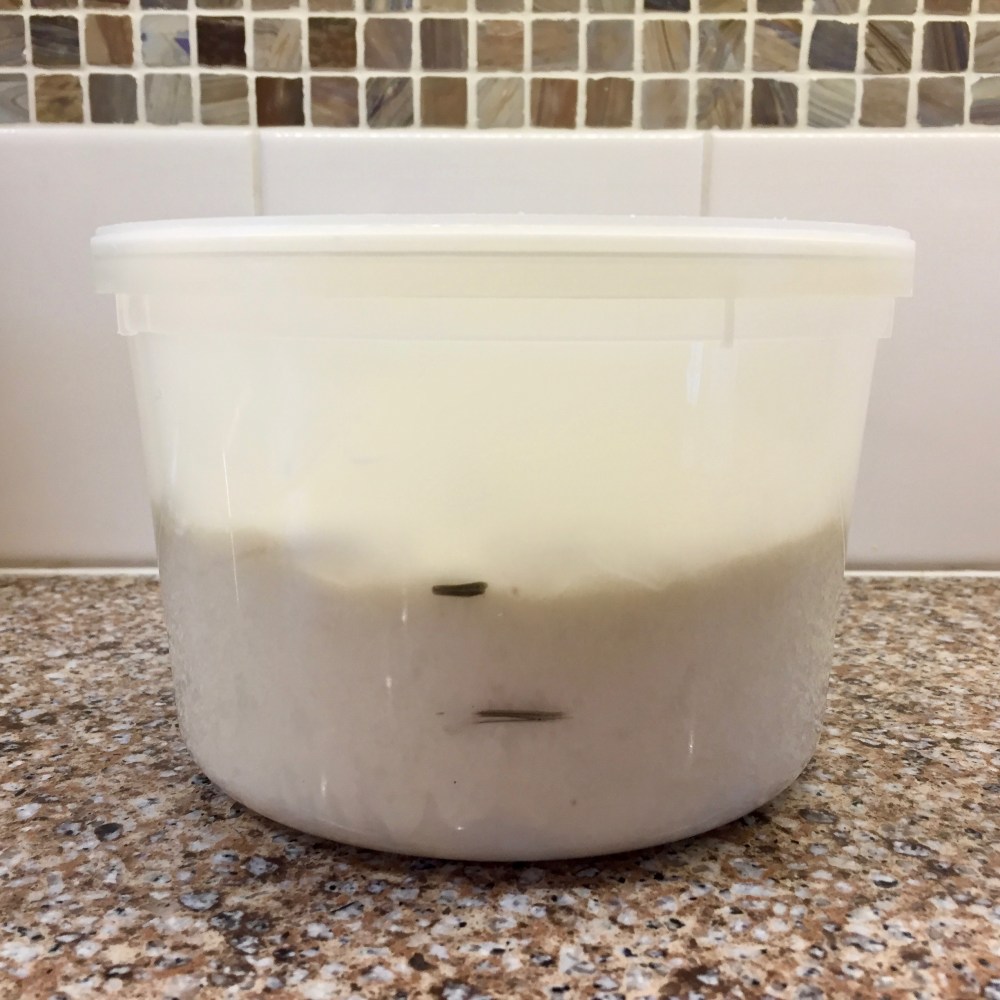
3.) Knead on medium (3 to 4 on my KitchenAid) until the dough becomes smooth and elastic, about 5 minutes. Lightly oil a dough bucket or large bowl. My bucket is just a 64-oz. (1.8 kg) freezer container I got on Amazon when I needed a bunch them for Instant Pot freezer meals. (This one, if you’re interested — also not an affiliate link. They give me nothing, I just like sharing what works for me.) Its straight sides make it easy to see when the dough has doubled.
Form the dough into a flat disc. Lightly press the dough into the bucket to get a thin coating of oil on it, then turn the dough oil side up.


Cover the bucket, and mark the level of the dough. Measure twice that, and make another mark. Pop the bucket into the cold oven, and turn the light on. I like to put a post-it note over the “On” button of my oven to remind me not to preheat until after I remove the bucket. Yup, learned that the hard way.


If you are using a bowl instead of a bucket, form the dough into a ball instead of a disc. Place it smooth side down in the oiled bowl, roll it around a bit to coat the top and sides, flip it upside down, and cover the bowl with plastic wrap. Then just eyeball its size.
4.) Let the dough rise for 20 minutes, or until it doubles in bulk.
Punch it down, then let it rest for 10 minutes.


5.) Lightly grease a standard size bread pan. On a lightly floured surface, press the dough into an 8” (20 cm) square. Roll the dough into a log and place in the pan.


6.) Many bread recipes say to now cover the pan with lightly greased plastic wrap. I don’t care for that technique because the rising bread always hits the wrap. Sometimes that causes the dough to collapse or tear. I use a 2-gallon (7.5 L) zip-top bag. I place the pan in the bag, then close it except for one corner. Using a straw through the opening, I blow up the bag, then quickly fasten it the rest of the way as I pull the straw out. Maybe some of you are cringing right now. She breathes into the bag?! Don’t judge me! It works, I don’t do it when I’m sick, the bread is getting cooked anyway, and my husband doesn’t seem to mind. It’s a lot cheaper than a fancy proofing box!


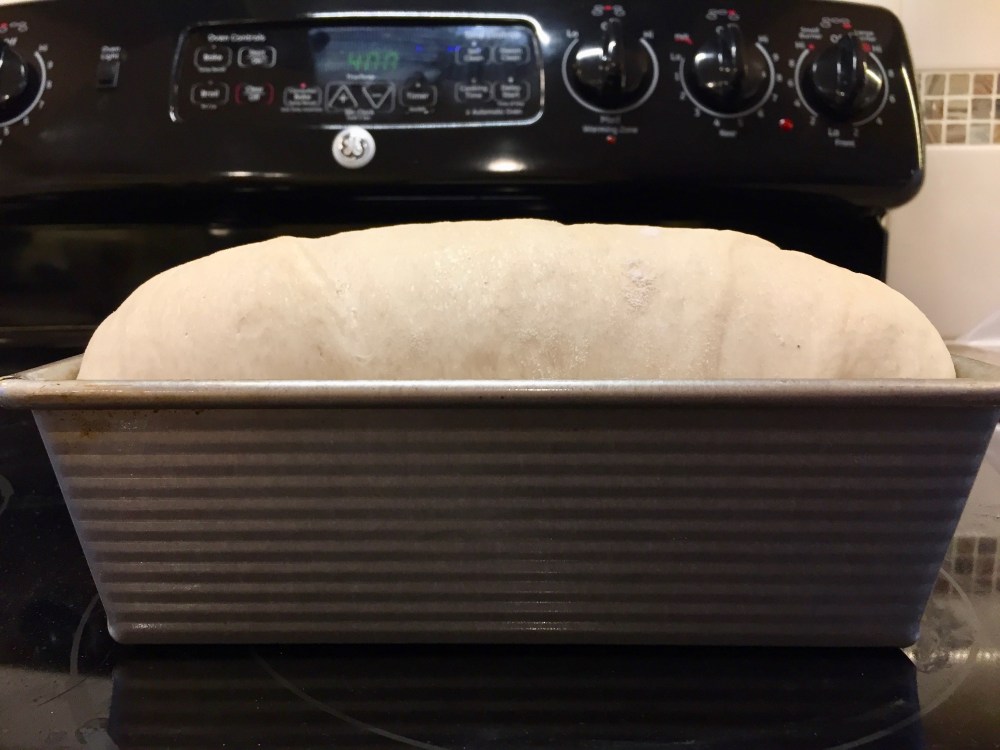
7.) Pop the whole thing back in the cold oven with the light on. Let it rise another 20 to 30 minutes, or until the bread rises one to two inches (2.5 to 5 cm) above the rim of the pan. Remove the pan from the oven, and preheat to 400º F (204º C). Carefully remove the pan from the bag. I do this by sliding a hand into the bag as I open it, holding the bag up above the bread. With the other hand, I slide the pan out of the bag.
8.) Bake the bread 15 to 18 minutes, or until the top is golden brown. Turn the loaf out of the pan onto a wire rack to cool.


Italian Sandwich Bread
Ingredients
2½ cups (300 g) bread flour
2 tablespoons extra virgin olive oil
2¼ teaspoons (1 packet) instant yeast
1 teaspoon sugar
1 teaspoon salt
1 cup (240 ml) warm water (100° to 110°F or 38º to 43º C)
Directions
1.) Place all ingredients in the bowl of a stand mixer fitted with the dough hook. Use the lowest speed to blend the ingredients just enough to keep the flour from flying all over the kitchen.
2.) Gradually increase to medium-low (2 on my KitchenAid) until the dough starts to come together to form a single lump.
3.) Knead on medium (3 to 4 on my KitchenAid) until the dough becomes smooth and elastic, about 5 minutes. Lightly oil a dough bucket or large bowl. Lightly press the dough into the bucket to get a thin coating of oil on it, then turn the dough oil side up. Cover the bucket, and mark the level of the dough. Measure twice that, and make another mark. Pop the bucket into the cold oven, and turn the light on.
If you are using a bowl instead of a bucket, form the dough into a ball instead of a disc. Place it smooth side down in the oiled bowl, roll it around a bit to coat the top and sides, flip it upside down, and cover the bowl with plastic wrap. Then just eyeball its size.
4.) Let the dough rise for 20 minutes, or until it doubles in bulk. Punch it down, then let it rest for 10 minutes.
5.) Lightly grease a standard size bread pan. On a lightly floured surface, press the dough into an 8” (20 cm) square. Roll the dough into a log and place in the pan.
6.) Slide the pan into a large zip-top bag. Close the bag except for one corner. Using a straw through the opening, blow up the bag, then quickly fasten it the rest of the way as you pull the straw out. Or, just cover the pan with lightly greased plastic wrap.
7.) Pop the whole thing back in the cold oven with the light on. Let it rise another 20 to 30 minutes, or until the bread rises an inch above the rim of the pan.
Remove the pan from the oven, and preheat to 400º F (204º C). Carefully remove the pan from the bag, or the plastic wrap from the pan.
8.) Bake the bread 15 to 18 minutes, or until the top is golden brown. Turn the loaf out of the pan onto a wire rack to cool.

Should the dough be covered during the 10 minute rest (after punching it down)?
LikeLike
Yes, sorry if that wasn’t clear!
LikeLike
No way that is an 80% hydration dough! Either the flour or the water are incorrect. That looks like a 50 or 60% hydration dough!
LikeLiked by 1 person
I honestly don’t know what percent it is. I’ve adapted it from one I found somewhere. All I know is that it turns out great! One of these days, I’ll learn more about bread science. Thanks for teaching me something!
LikeLike