
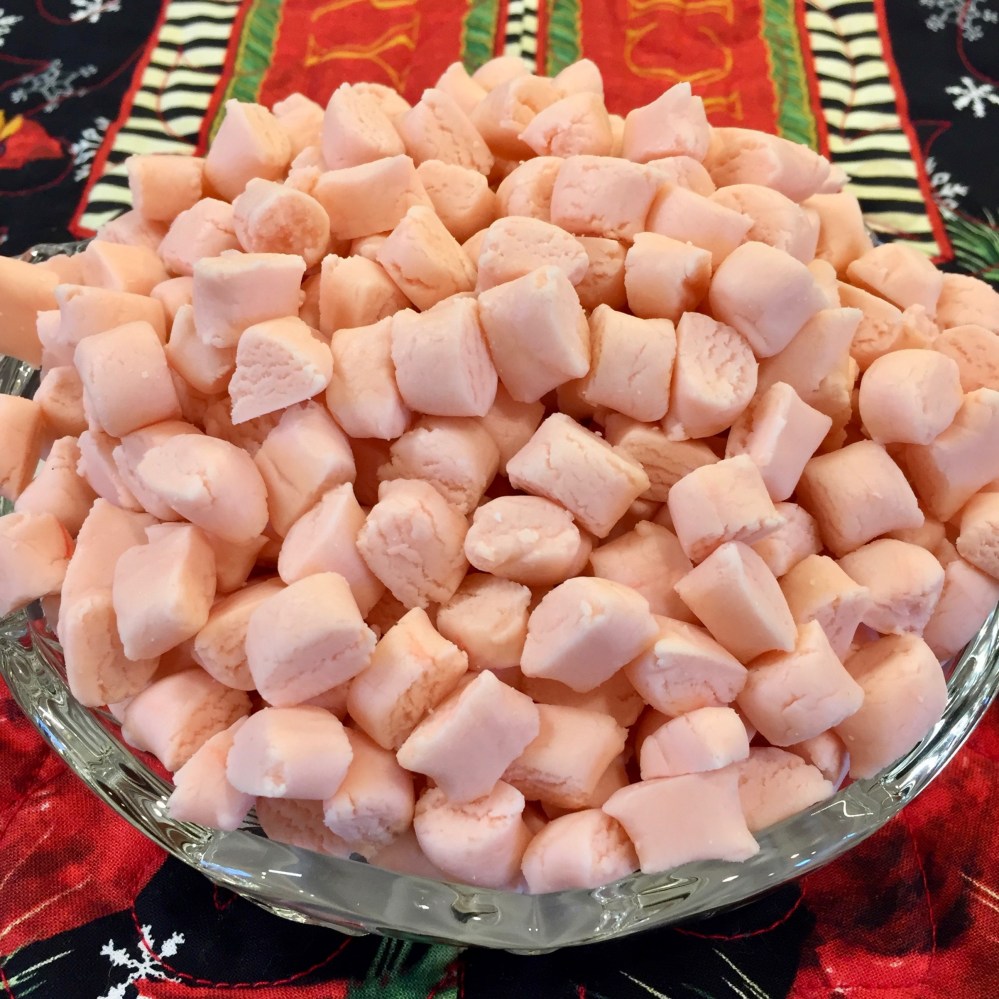
These tasty little after-dinner mints are great for gift-giving as well as enjoying yourself. And they’re ridiculously easy to make! I made three batches to give for the holidays, one each of red, green, and white. The recipe comes from The Spruce Eats.
When I was a kid, my dad used to go on business trips several times a year. This was back in the days long before airport security was a thing. No security guards, no metal detectors, no lines, no nothin’. No jetways, either, though — you had to walk across the tarmac no matter the weather and climb these narrow metal stairs to board the plane. Hard as it is to imagine now, we used to drive my dad to the airport and wait with him at the gate until boarding time. Anybody could just walk right in. Some people would even go on the plane with whomever they were seeing off, then get off right before takeoff. My dad would always try to get a window seat on the side of the plane closest to the gate so he could wave at us as the plane taxied away. We’d wait to watch them take off before we left. As a treat, my mom would then take my sister and me out to dinner. Sometimes it was Arby’s, sometimes it was a real sit-down restaurant. One of the places we went to had these yummy mints in a dish by the mâitre d’s stand. I was severely upbraided by my mom once for trying to snag a huge handful to put in my pocket for the ride home. Have I mentioned that I have a serious sweet tooth? It’s going to bug me for days that I can’t remember the name of that restaurant. I think it started with “M,” but I’m pretty sure it closed years ago. May-something? Maywood? Anyway, these mints taste just like I remember theirs did. What a lovely walk down memory lane for the holidays!
Ingredients:

8 tablespoons (1 stick/4 oz./113 g) butter, softened
4 cups (908 g) confectioners’ (powdered) sugar
1 tablespoon heavy (double) cream
1 teaspoon best-quality real vanilla extract
¼ teaspoon best-quality real peppermint extract
food coloring (optional)
Preparation:
1.) Beat the butter in your stand mixer, using the paddle attachment, until smooth.

2.) Sift the powdered sugar, breaking up any lumps.

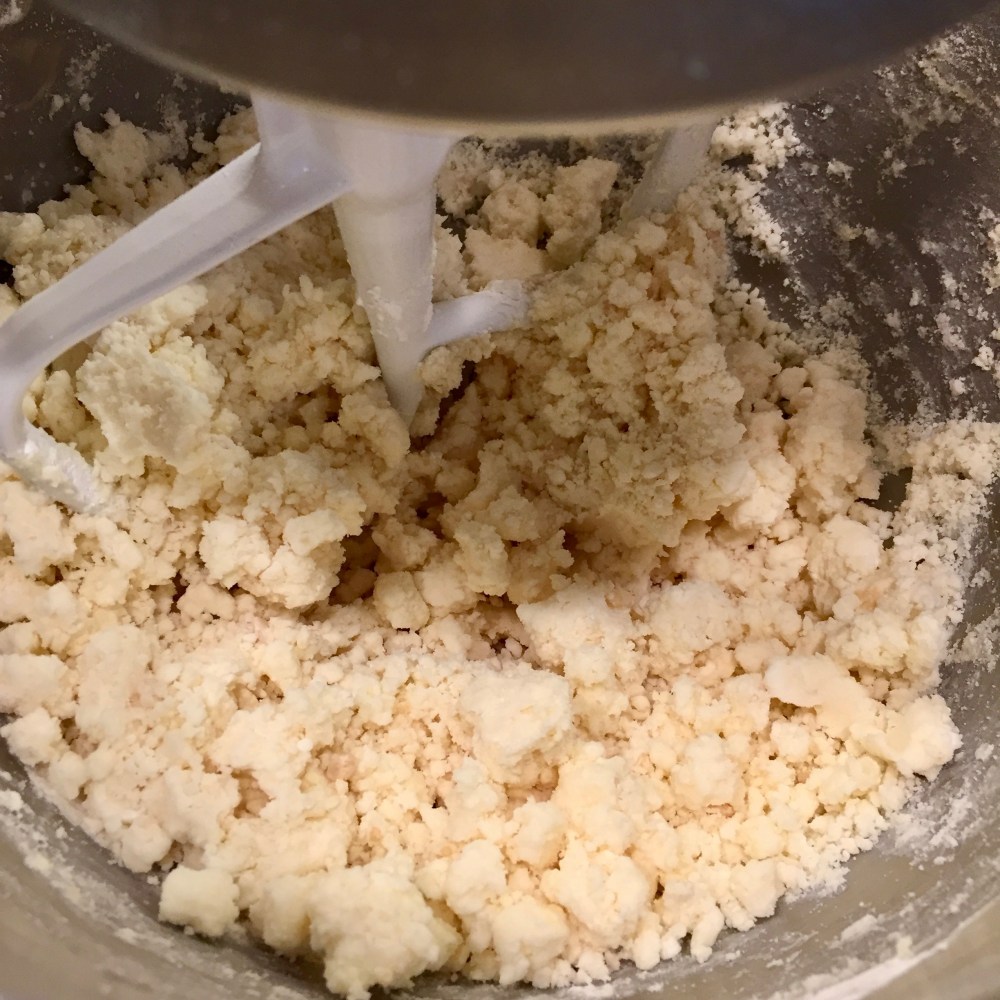
3.) Add the remaining ingredients. Use the color sparingly, as the candies’ color will intensify as they dry. Mix, starting at the lowest speed. As the sugar incorporates, gradually increase the speed to medium. Don’t increase too quickly, or you will redecorate your kitchen in sugar! At first, it will look like there’s no way this will come together. Keep going.


Then there’s a ray of hope that maybe this will work. Continue.
After several minutes, the mixture will be beautifully smooth and quite stiff. Add just a touch more powdered sugar or cream if needed to adjust the texture. Have a taste, and add a drop or two of peppermint you want a stronger flavor. Not too much, though, as the flavor also intensifies as the candy dries.

4.) Remove a small lump, about 2 tablespoons, and cover the rest with plastic wrap. Place the chunk on a piece of parchment or a plate. It helps to put a silicone pot holder under the dish to keep it from sliding around as you form the candy. I also wore food service gloves to avoid ending up with pink hands, but it’s not strictly necessary. Another time, I didn’t bother and lived to tell about it. Gently roll the lump into one or two long ropes.


5.) Cut the ropes into small segments, about ½”/1 cm. Repeat until all the candy has been formed.

6.) Transfer to parchment-lined rimmed baking sheets and allow to dry overnight. Refrigerate in an airtight container for up to one month.

Homemade Buttermints
Ingredients
8 tablespoons butter (1 stick/4 oz./113 g)
4 cups (908 g) confectioners’ (powdered) sugar
1 tablespoon heavy (double) cream
1 teaspoon best-quality real vanilla extract
¼ teaspoon best-quality real peppermint extract
Food coloring (optional): Gel is best, as it’s less runny. If you don’t have it, use liquid and have a little extra powdered sugar handy for texture.
Directions
1.) Beat the butter in your stand mixer, using the paddle attachment, until smooth.
2.) Add the remaining ingredients. Use the color sparingly, as the candies’ color will intensify as they dry. Mix, starting at the lowest speed. As the sugar incorporates, gradually increase the speed to medium. Don’t increase too quickly, or you will redecorate your kitchen in sugar! At first, it will look like there’s no way this will come together. Keep going.
Then there’s a ray of hope that maybe this will work. Continue.
After several minutes, the mixture will be beautifully smooth and quite stiff. Add just a touch more powdered sugar or cream if needed to adjust the texture. Have a taste, and add a drop or two of peppermint if you want a stronger flavor. Not too much, though, as the flavor also intensifies as the candy dries.
3.) Remove a small lump, about 2 tablespoons, and cover the rest with plastic wrap. Place the chunk on a piece of parchment or a plate. It helps to put a silicone pot holder under the dish to keep it from sliding around as you form the candy. I also wore food service gloves to avoid ending up with pink hands, but it’s not strictly necessary. Another time, I didn’t bother and lived to tell about it. Gently roll the lump into one or two long ropes.
4.) Cut the ropes into small segments, about ½”/1 cm. Repeat until all the candy has been formed.
5.) Transfer to parchment-lined rimmed baking sheets and allow to dry overnight. Refrigerate in an airtight container for up to one month.
