
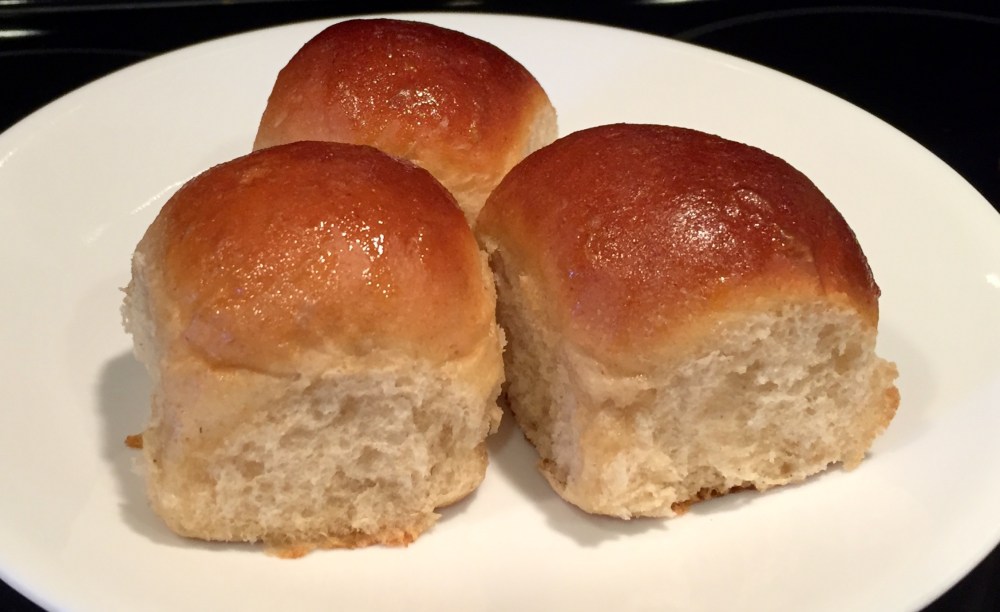
These soft, really light, delicious rolls are from a recipe I found on the King Arthur website. They’re not your typical heavy, dense whole wheat, and okay, that’s because they aren’t 100% whole grain. But two-thirds of the flour is whole grain, and personally, I’m willing to sacrifice the other third once in a while. Because these rolls are that good! I think even people who don’t usually choose whole wheat will love them. They freeze well, too. It’s just the two of us for dinner most nights, and we certainly don’t need to eat 24 rolls! So I keep a few in the bread box for the next couple of days’ lunches and freeze the rest in zip-top bags. I’ve even sliced them horizontally and popped them in the toaster for breakfast. One of these days, I’ll try freezing some just before baking. Why haven’t I thought of that before? I’ve been baking these for years!
I’m saying a serving size is two rolls because they’re smallish. Besides, I dare you to eat just one! You’ll find a printer-friendly version of the recipe at the bottom of this page.
Ingredients:
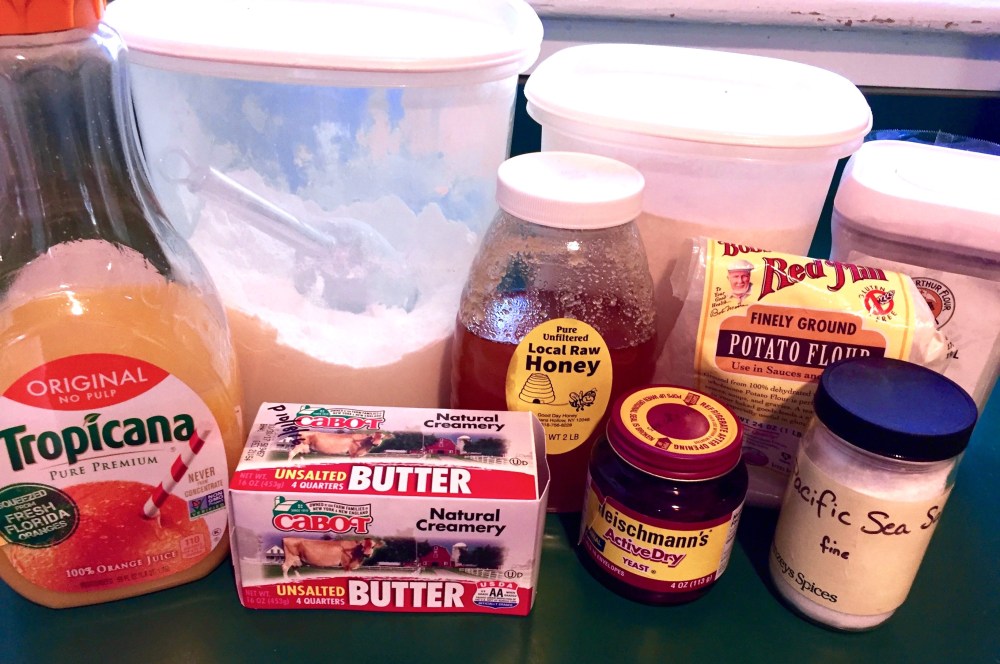
2 cups white whole wheat flour
1 cup all-purpose flour
¼ cup potato flour
¼ cup nonfat dry milk
1 cup lukewarm water (105 – 110℉)
¼ cup orange juice
4 Tbsp (½ stick) unsalted butter, cut into pieces
3 Tbsp honey
2¼ tsp instant yeast
1¼ tsp salt
2 Tbsp salted butter
Preparation:
1.) Mix together the first ten ingredients (everything except the 2 Tbsp salted butter) in the bowl of your stand mixer, using the paddle attachment. Once everything is combined, switch to the dough hook and knead on speed 2 for 5 to 7 minutes (or knead by hand a bit longer). When it’s ready, you’ll be able to stretch a small piece enough to see light through it without it breaking.


2.) Form the dough into a smooth ball. Lightly oil or grease a large bowl. Place the dough upside down, and roll it a bit to get a little oil on the surface of the dough. Turn it right side up, cover, and let rise at room temperature for 1½ to 2 hours. You can put it in the cold oven with the light on if your kitchen is chilly. The dough should become really puffy, but it might not quite double in size. If you press your fingers into the dough, the indentations will remain.


3.) Lightly oil a 9″ x 13″ baking pan (or two 9″ round ones), your hands, and your work surface. When the dough is done rising, gently deflate it and divide it into 24 equal pieces for the rectangular pan, or 16 pieces to split between the two round pans.
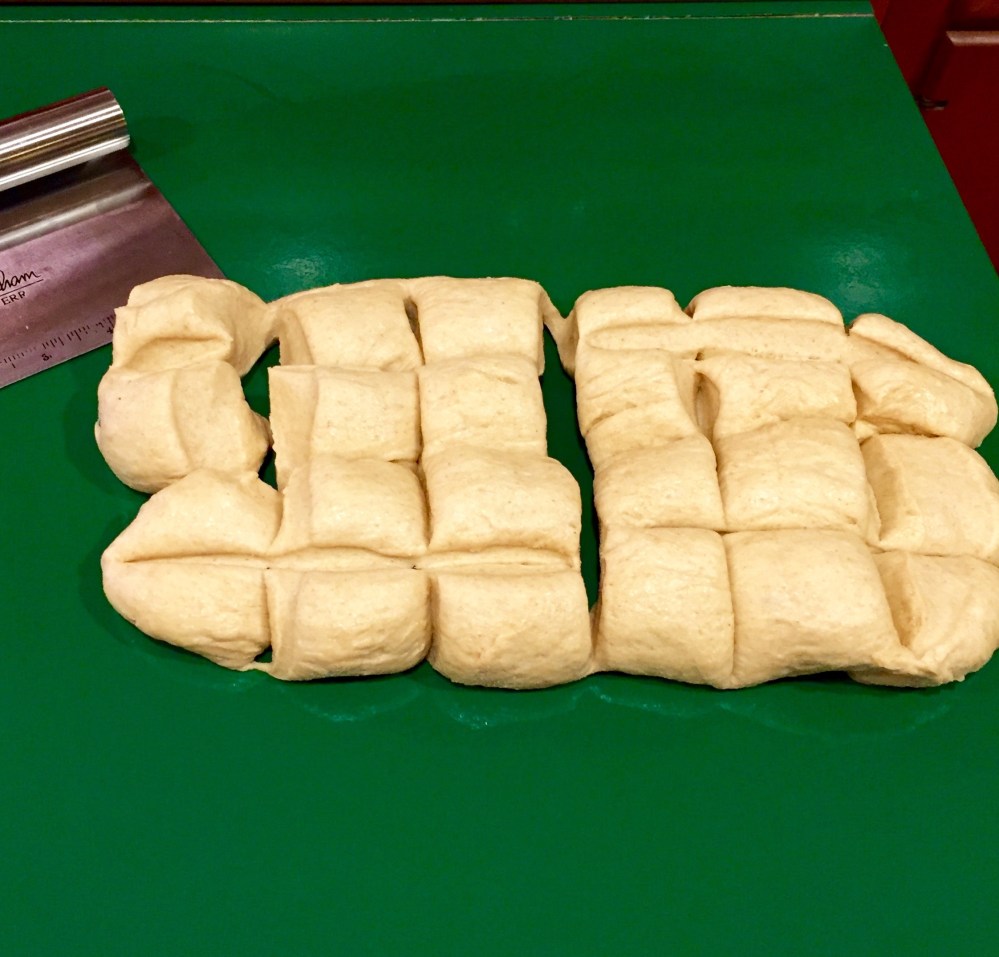
4.) Form each piece into a ball, pinching the dough together at the bottom and rolling the ball to make it smooth.

5.) Place the balls of dough in your oiled pan(s), positioning them evenly. There will be plenty of room between them. Cover with lightly oiled plastic wrap, and allow to rise for another 1½ to 2 hours. The rolls will become puffy and will expand enough to touch each other.


6.) Preheat the oven to 350℉. Bake the rolls for 15 minutes, then check to see how they’re browning. You can tent them with foil if they’re browning too quickly. Bake another 10 minutes or so, until nicely browned on top but lighter on the sides. While the rolls finish baking, melt the two tablespoons of butter, and keep warm.
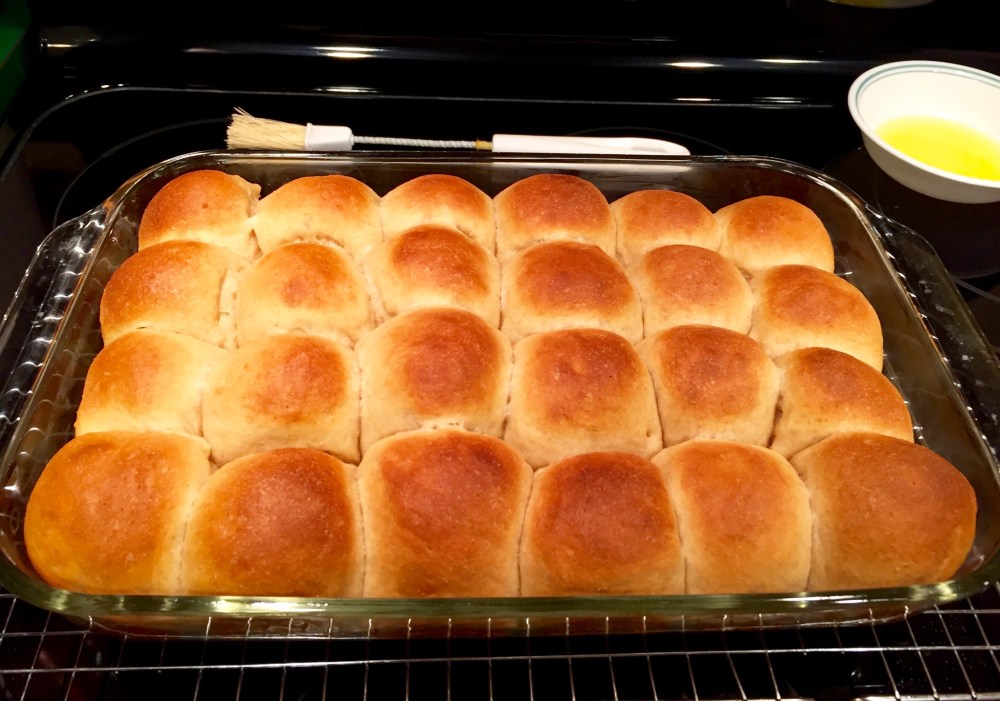
7.) When the rolls are done baking, remove them from the oven and brush a little of the melted butter on the tops of the rolls. Let the pan sit out to cool enough to handle before transferring the rolls to a wire rack. Be gentle, as they’ll be pretty soft. I love them warm, but they’re still delicious if cooled completely. If you have leftovers, they keep for a few days at room temperature or a few months in the freezer.


Honey Wheat Rolls
Ingredients
2 cups white whole wheat flour
1 cup all-purpose flour
¼ cup potato flour
¼ cup nonfat dry milk
1 cup lukewarm water (105 – 110℉)
¼ cup orange juice
4 Tbsp (½ stick) unsalted butter, cut into pieces
3 Tbsp honey
2¼ tsp instant yeast
1¼ tsp salt
Directions
1.) Mix together the first ten ingredients (everything except the 2 Tbsp salted butter) in the bowl of your stand mixer, using the paddle attachment. Once everything is combined, switch to the dough hook and knead on speed 2 for 5 to 7 minutes (or knead by hand a bit longer). When it’s ready, you’ll be able to stretch a small piece enough to see light through it without it breaking.
2.) Form the dough into a smooth ball. Lightly oil or grease a large bowl. Place the dough upside down, and roll it a bit to get a little oil on the surface of the dough. Turn it right side up, cover, and let rise at room temperature for 1½ to 2 hours. You can put it in the cold oven with the light on if your kitchen is chilly. The dough should become really puffy, but it might not quite double in size. If you press your fingers into the dough, the indentations will remain.
3.) Lightly oil a 9″ x 13″ baking pan (or two 9″ round ones), your hands, and your work surface. When the dough is done rising, gently deflate it and divide it into 24 equal pieces for the rectangular pan, or 16 pieces to split between the two round pans.
4.) Form each piece into a ball, pinching the dough together at the bottom and rolling the ball to make it smooth.
5.) Place the balls of dough in your oiled pan(s), positioning them evenly. There will be plenty of room between them. Cover with lightly oiled plastic wrap, and allow to rise for another 1½ to 2 hours. The rolls will become puffy and will expand enough to touch each other.
6.) Preheat the oven to 350℉. Bake the rolls for 15 minutes, then check to see how they’re browning. You can tent them with foil if they’re browning too quickly. Bake another 10 minutes or so, until nicely browned on top but lighter on the sides. While the rolls finish baking, melt the two tablespoons of butter, and keep warm.
7.) When the rolls are done baking, remove them from the oven and brush a little of the melted butter on the tops of the rolls. Let the pan sit out to cool enough to handle before transferring the rolls to a wire rack. Be gentle, as they’ll be pretty soft. Serve warm, or allow to cool completely. If you have leftovers, they keep for a few days at room temperature or a few months in the freezer.

Looks great and tasty too 🙂
LikeLiked by 1 person
Thanks! They’re fun to make, too.
LikeLiked by 1 person
They look incredible
LikeLiked by 1 person
It’s an awesome recipe – wish I could take credit for inventing it!
LikeLike
There is nothing like the smell or the tadte of freshly baked bread. If you you freeze them, would it be after they rose a second time and befire you baked them?
LikeLiked by 1 person
I’ve frozen the fully-baked ones, which stay pretty tasty for 3-4 weeks when thawed an warmed. I’ve read that you can freeze them, formed into their balls, before the second rise. Then on baking day you let them warm & rise 4-5 hours before baking. I’ll try it one of these days!
LikeLike