
There are lots of reasons to make your own yogurt at home. Homemade is definitely cheaper if you eat a lot of yogurt. Plus, you and only you control what else goes into it. Thickeners, preservatives, artificial flavor, and sugar (sometimes lots of sugar) all frequently appear in store-bought yogurt. When you make your own you can also control the level of tartness. A milder yogurt can help decrease the need for sugar if you like your yogurt sweet. Of course, if you like it tart, you can do that, too. And making yogurt is kind of fun! Plus, there’s something satisfying about making a recipe like Tandoori Grilled Chicken with Mint Raita using yogurt you made yourself!
Many recipes insist on whole milk. No doubt, it’s richer and more filling than low-fat or fat-free. The extra calories and saturated fat aren’t always welcome, though. I’ve used whole, 2%, and 1%, organic, brand, and generic so far, and all work equally well with this method. I haven’t tried fat-free yet, but I’ll get there. I made a half-gallon batch this time. For a full gallon, just double the starter to 2 tablespoons. The process, including timing, remains the same.
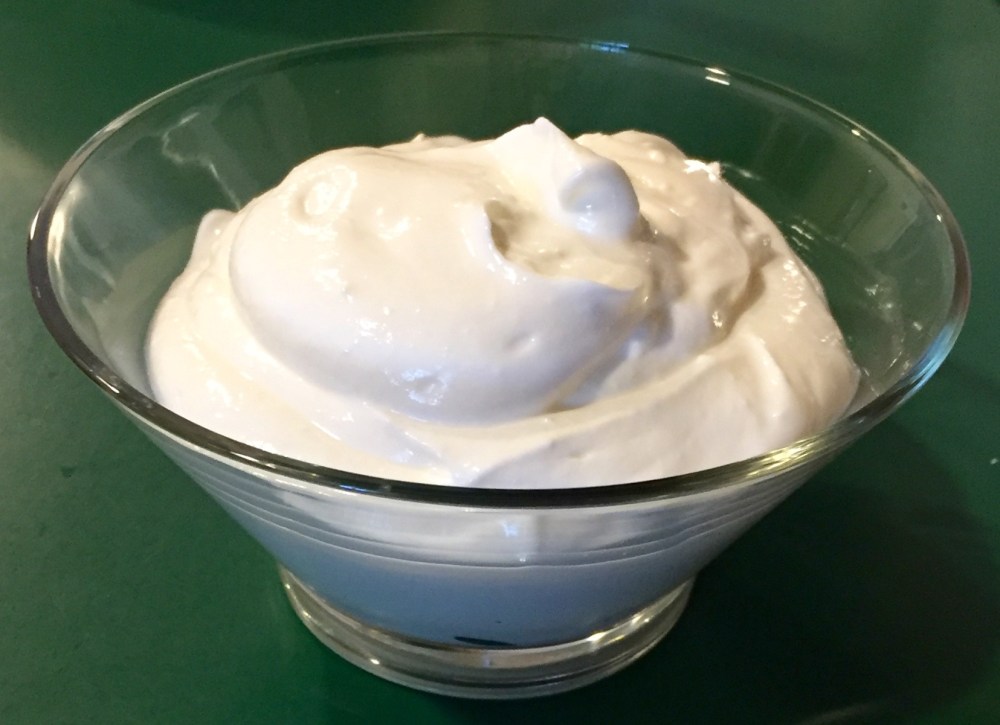
Making Greek yogurt is really the same as making regular yogurt but with one additional step: straining. Just skip that step if you don’t care for the thicker texture of Greek yogurt. If you do choose to strain, don’t throw away the whey. It’s great as a substitute for the water in bread recipes or in making smoothies or soups. I’m sure there are many other uses, too, that I haven’t yet come across. If you have a favorite, I’d love to hear about it!
You’ll find a printer-friendly version of the recipe at the bottom of this page. A quick reference, for when you just want to refer to the numbers, is beneath that.
Ingredients:

3 cups water
½ gallon milk
1 Tbsp plain yogurt (starter)
Preparation:
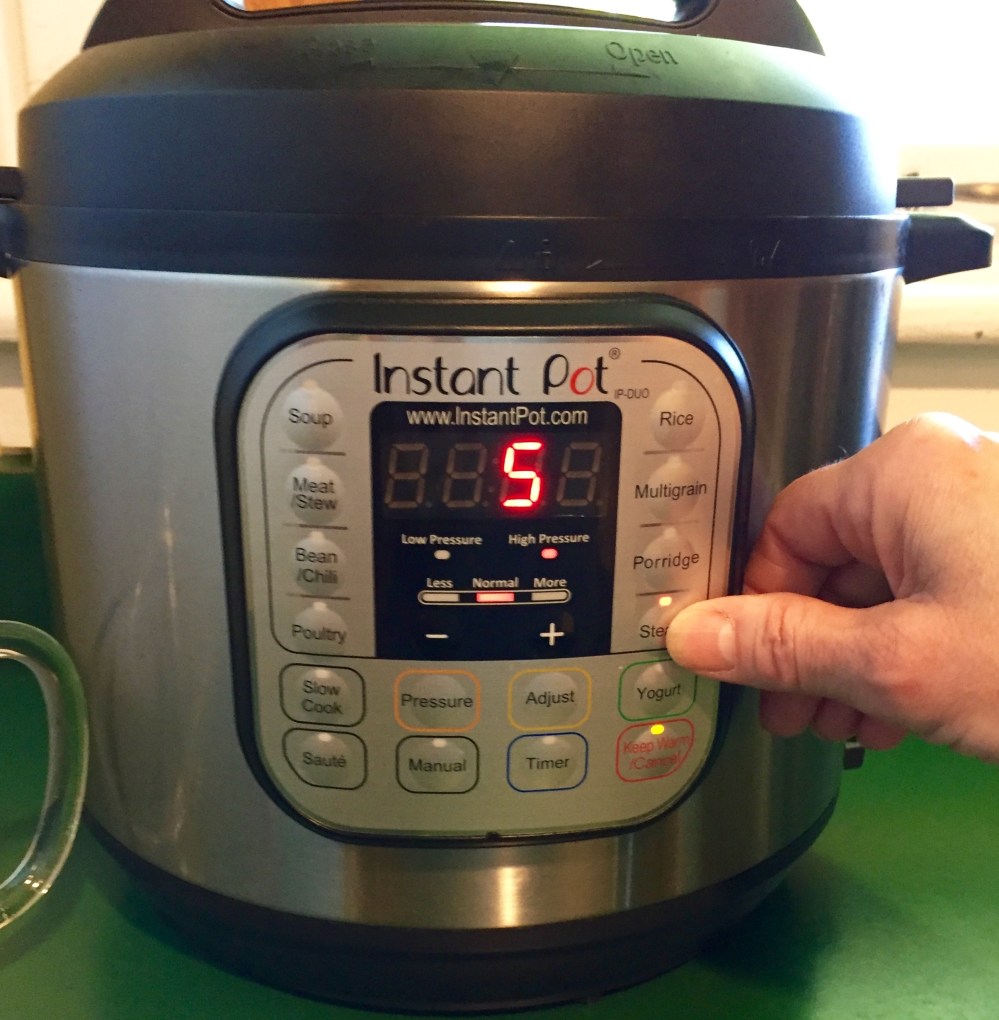
1.) Start by sterilizing your pot. Place the water in the inner pot. Close and lock the lid, and close the steam vent. Press the “Steam” button, then the “+/-” buttons to set the time for 5 minutes.
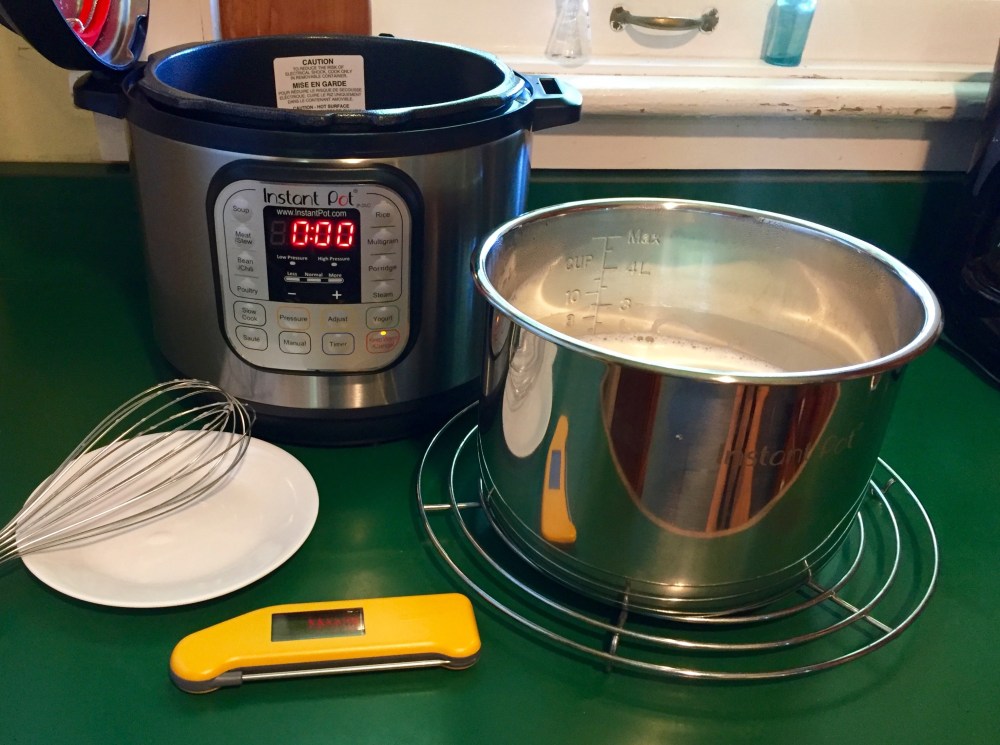
2.) When the steam cycle is done, quick-release the pressure. Discard the water, dry the pot with a clean towel (after all, you just spent five minutes sterilizing the pot), and let it cool to room temperature.

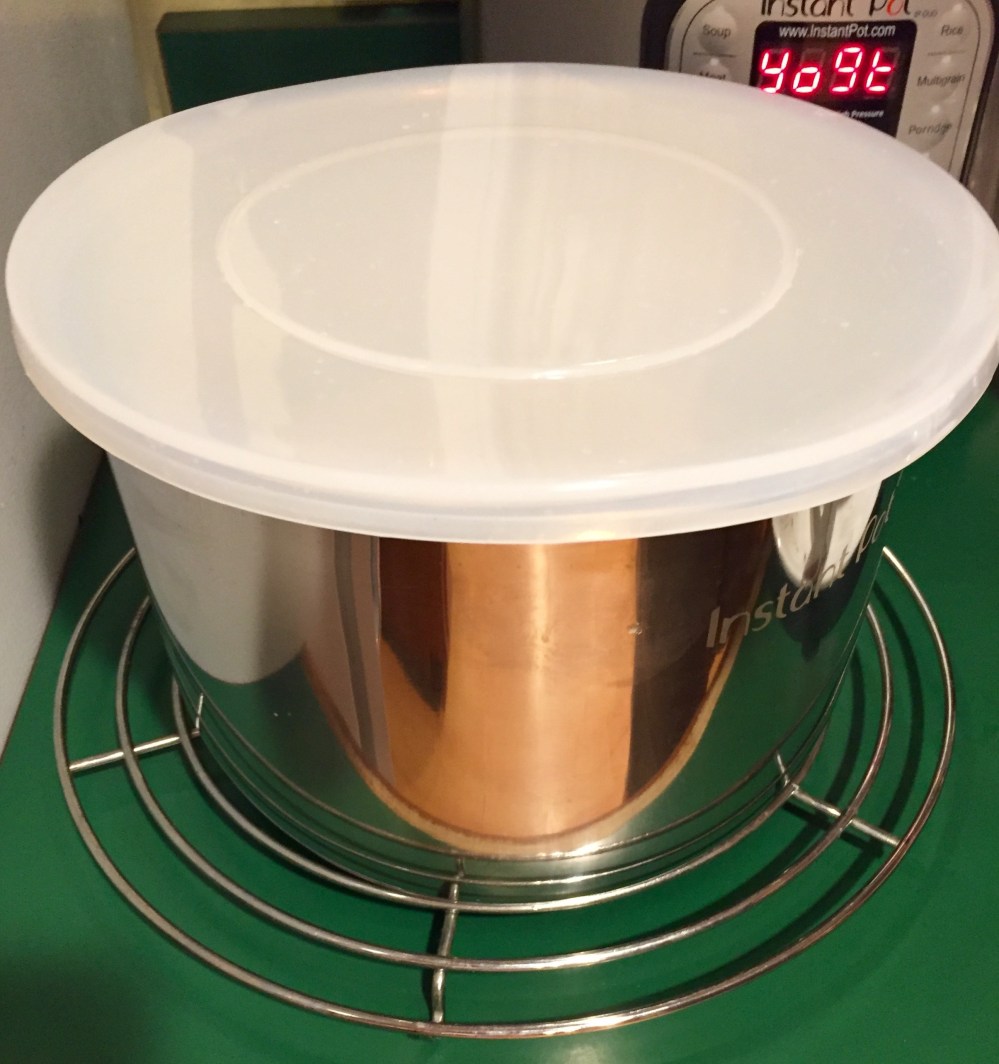
3.) Replace the inner pot. Pour in the milk and cover the pot. It isn’t necessary to lock the lid or close the vent. If you have the glass lid, you can use that. Press the “Yogurt” button, then the “Adjust” button until the display reads “boil”. The cycle will take about 45 minutes. Since it isn’t under pressure, you can open the pot several times during the cycle to whisk the milk, which will help it heat more evenly.

4.) When the cycle is done, the display will read “yogt” or “0:00”. Whisk again, and measure the milk’s temperature with an instant read or candy thermometer. It needs to be 180 — 185 ℉. If it’s not hot enough, you can either use the sauté function on low or re-start the yogurt boil cycle. Either way, whisk it constantly so that the milk doesn’t scorch.
Once the milk reaches the correct temperature, turn off the machine, take out the inner pot and place it on a wire rack to cool. If you want to hurry it along, you can use a water bath. Cool the milk, whisking occasionally, to 95 — 110 ℉. This can take 30 — 60 minutes at room temperature.
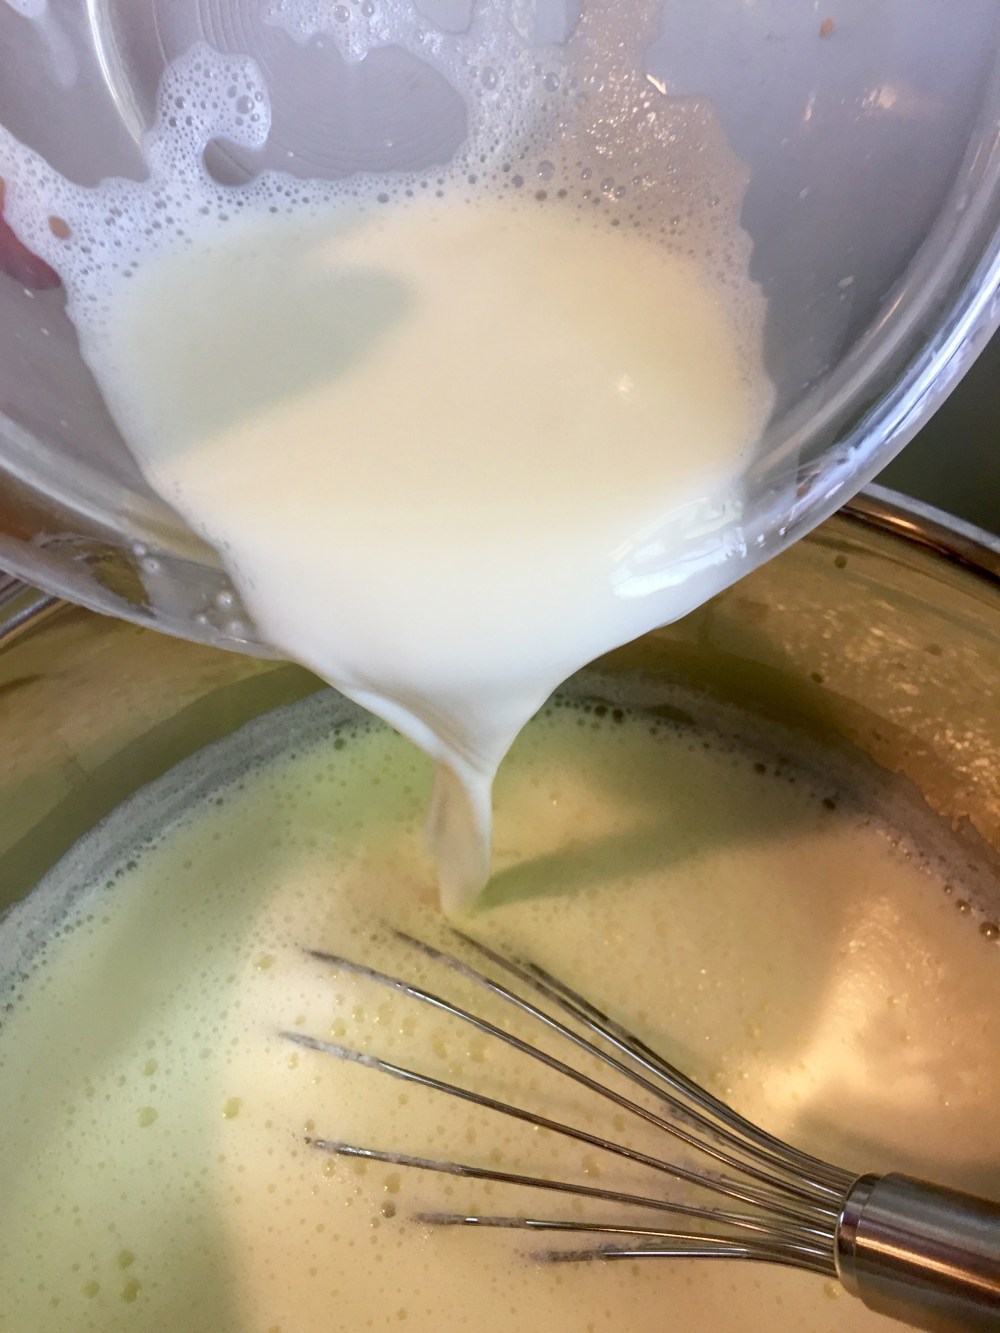
5.) When the milk is ready, place the yogurt starter in a small bowl. Use a measuring cup or ladle to remove about a cup of the hot milk. Whisking constantly, pour in into the bowl with the starter.


6.) Pour the mixture back into the instant pot, whisking constantly until well combined.
7.) Return the pot back to the Instant Pot. Cover. You can use the glass lid again if you have it, or the IP cover without locking or closing steam vent. Press the “Yogurt” button. The “Normal” light should be lit. If not, use the “Adjust” button to get it there. The display probably reads “8:00”, referring to the default 8-hour yogurt culture cycle. You can use the “+/-” buttons to adjust the time to anywhere from 6 to 10 hours. The shorter times yield a milder yogurt, the longer times yield a more tart yogurt. Note that the display will be counting the minutes up on the yogurt function, rather than the counting down that’s seen on the pressure cooking function.

8.) When the cycle is done, remove the inner pot. Cover and refrigerate until fully chilled, about 6 to 8 hours. There’s no need to stir it while chilling.
Once the yogurt is fully chilled, set it up to strain. You’ll need a colander or mesh basket big enough to hold all of the yogurt, something to line it with to keep the whey clear, and a bowl or pot to collect the whey. The strainer needs to sit high enough on the collection bowl so that the collected whey stays well below the bottom of the strainer. For a half gallon batch, there will be about three to four cups of whey.
There are many options for lining the strainer: coffee filters (commercial size, or several overlapping household filters), cheesecloth (several layers), a clean dish towel, or paper towel (that’s what I used this time). Line with one of these, set it over a bowl to collect the whey, and pop the whole thing in the fridge for at least 2 hours to get the thick texture of Greek yogurt. When the yogurt is finished straining, you’ll have thick Greek yogurt in the strainer, and clear yellowish whey in the collection bowl.


9.) Freeze some of the yogurt in 1 or 2 Tbsp portions to use as the starter for your next batch. I freeze it the same way I do my tomato paste: each tablespoon plopped on a plastic wrapped plate, into the freezer, and all of them transferred to a labeled zip-top bag once frozen. Save the whey to use in soups or bread. If you don’t need it now, freeze it in one-cup portions in zip-top bags for later.


Greek Yogurt (Instant Pot)
Ingredients
3 cups water
½ gallon milk
1 Tbsp plain yogurt (starter)
Directions
1.) To sterilize the pot, place the water in the inner pot. Close and lock the lid, and close the steam vent. Press the “Steam” button, then the “+/-” buttons to set the time for 5 minutes.
2.) When the steam cycle is done, quick-release the pressure. Discard the water, dry the pot with a clean towel, and let it cool to room temperature.
3.) Replace the inner pot. Pour in the milk and cover the pot. It isn’t necessary to lock the lid or close the vent. If you have the glass lid, you can use that. Press the “Yogurt” button, then the “Adjust” button until the display reads “boil”. The cycle will take about 45 minutes. Since it isn’t under pressure, you can open the pot several times during the cycle to whisk the milk, which will help it heat more evenly.
4.) When the cycle is done, the display will read “yogt” or “0:00”. Whisk again, and measure the milk’s temperature with an instant read or candy thermometer. It needs to be 180 — 185 ℉. If it’s not hot enough, you can either use the sauté function on low or re-start the yogurt boil cycle. Either way, whisk it constantly so that the milk doesn’t scorch.
Once the milk reaches the correct temperature, turn off the machine, take out the inner pot and place it on a wire rack to cool. If you want to hurry it along, you can use a water bath. Cool the milk, whisking occasionally, to 95 — 110 ℉. This can take 30 — 60 minutes at room temperature.
5.) When the milk is ready, place the yogurt starter in a small bowl. Use a measuring cup or ladle to remove about a cup of the hot milk. Whisking constantly, pour in into the bowl with the starter.
6.) Pour the mixture back into the instant pot, whisking constantly until well combined.
7.) Return the pot back to the Instant Pot. Cover. You can use the glass lid again if you have it, or the IP cover without locking or closing steam vent. Press the “Yogurt” button. The “Normal” light should be lit. If not, use the “Adjust” button to get it there. The display probably reads “8:00”, referring to the default 8-hour yogurt culture cycle. You can use the “+/-” buttons to adjust the time to anywhere from 6 to 10 hours. The shorter times yield a milder yogurt, the longer times yield a more tart yogurt. Note that the display will be counting the minutes up on the yogurt function, rather than the counting down that’s seen on the pressure cooking function.
8.) When the cycle is done, remove the inner pot. Cover and refrigerate until fully chilled, about 6 to 8 hours. There’s no need to stir it while chilling. Once the yogurt is fully chilled, set it up to strain. You’ll need a colander or mesh basket big enough to hold all of the yogurt, something to line it with to keep the whey clear, and a bowl or pot to collect the whey. The strainer needs to sit high enough on the collection bowl so that the collected whey stays well below the bottom of the strainer. For a half gallon batch, there will be about 3 — 4 cups of whey.
There are several options for lining the strainer: coffee filters (commercial size, or several overlapping household filters), cheesecloth (several layers), a clean dish towel, or paper towel (that’s what I used this time). Line with one of these, set it over a bowl to collect the whey, and pop the whole thing in the fridge for at least 2 hours to get the thick texture of Greek yogurt. When the yogurt is finished straining, you’ll have thick Greek yogurt in the strainer, and clear yellowish whey in the collection bowl.
9.) Freeze some of the yogurt in 1 or 2 Tbsp portions to use as the starter for your next batch. I freeze it the same way I do my tomato paste: each tablespoon plopped on a plastic wrapped plate, into the freezer, and all of them transferred to a labeled zip-top bag once frozen. Save the whey to use in soups or bread. If you don’t need it now, freeze it in one-cup portions in zip-top bags for later.
Quick reference:
-3 cups water x 5 min on high pressure to sterilize
-½ gallon milk & 1 Tbsp plain yogurt into pot
-yogurt button (+/- adjust) to display “boil”; whisk occasionally x ~45 minutes
-temp 180 — 185 ℉
-out to cool to 95 — 110 ℉
-temper 1 cup milk into the starter, then into rest of milk
-yogurt button on normal
-6 – 10 hours, default is 8
-chill 6 – 8 hours before straining

One Comment Add yours