

Is there any aroma on Earth more enticing than that of freshly-baked bread? It’s certainly an ancient one. According to Wikipedia, Athens had bread shops as early as 500 BCE. Mention of honey-and-oil bread appears as early as the first or second century CE. This recipe makes a light, airy loaf, which goes well with Homemade Chicken Noodle Soup, spaghetti, or just by itself.
Honey is one of nature’s greatest inventions. If you don’t already have a good source of local raw honey, I urge you to find one. It’s so much better than the over-processed stuff you get in most grocery stores, and it supports local bee-keepers. We’ve been quite fortunate the past 2 years to have really local honey. The hives are just a few hundred yards from our barn! No, I don’t keep them myself, there’s a local guy who does. Still, it’s really good honey, and really cool that it comes from right here.
This recipe is adapted from The Bread Machine Cookbook, by Donna German. If you want to make it in your bread machine, just add another Tablespoon of water, and use the cycle for medium-size loaves. Of course, if you want to do the whole thing by hand, have at it! It’s really loads of fun. And I’m sure any medium-size bread pan would work, too, if you don’t have & don’t want the clay baker. (Mine came from King Arthur. They don’t have that exact kind any more, this one has replaced it.) Printer-friendly version at the bottom of this page.
“Bread and butter. Now you’re talking!” –The Doctor
Ingredients:
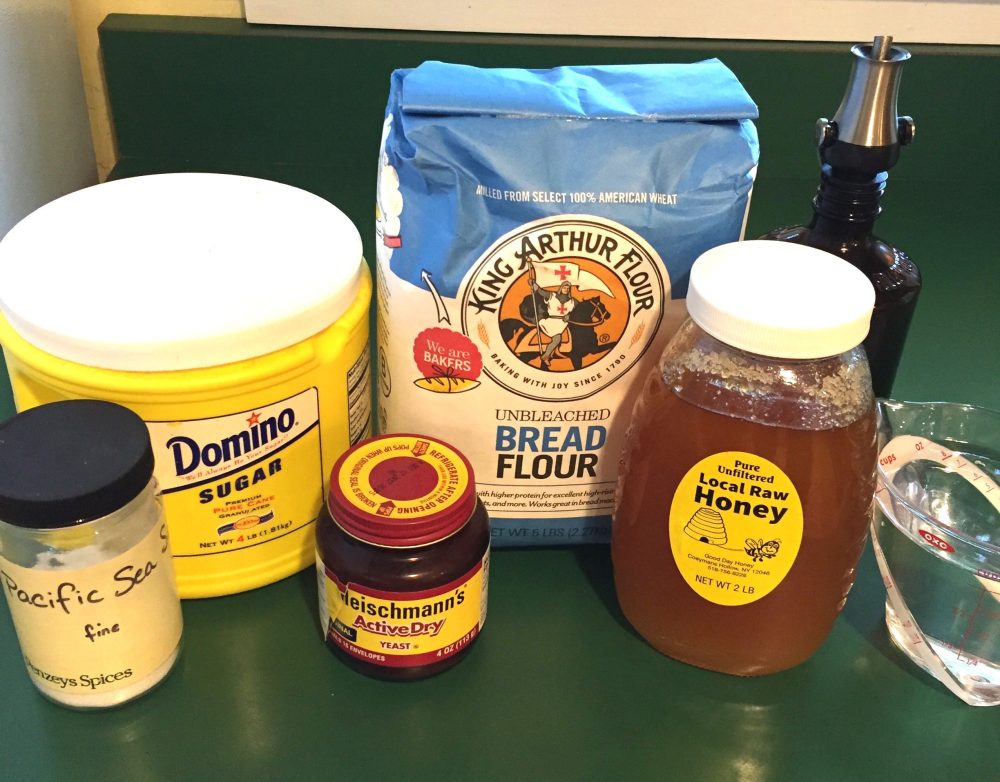
1 cup + 1 Tbsp water
1 Tbsp honey
1 Tbsp olive oil
1 tsp sugar
¾ tsp salt
3 cups bread flour
2 tsp yeast
1 Tbsp corn meal
Preparation:
1.) Mix the first 7 ingredients (everything but the corn meal) with the paddle of the stand mixer until blended, just a couple of minutes. Switch to the dough hook, and knead until the dough becomes smooth and elastic, about 5 minutes. Let the dough rest for 10 minutes, then knead for another 5 minutes.


2.) When the dough is kneaded enough, it will pass the windowpane test. To do this test, break off a small piece of dough, flatten it into a square, and gently stretch it. If it is shaggy & sticky (first pic) or breaks easily, it needs more kneading. If it’s ready, it will feel elastic (2nd pic) & you’ll be able to stretch it enough to start to see through it a bit.


3.) Oil or grease a large bowl. The bowl needs to be more than twice the size of the dough ball. Form the dough into a ball, pinching it together at the bottom, and place the ball smooth side down in the bowl. Roll it around a bit to make sure the smooth sides are oiled, then turn it right side up. Cover the bowl with an oiled lid or an oiled piece of plastic wrap. Set in a warm spot to rise. If your kitchen is warm, the counter will be fine. If it’s a bit drafty like my kitchen on a cold day, a cold oven with the light turned on should do. When it’s really cold here, I’ll turn the oven on for about half a minute at its lowest setting before I make the dough, and turn it off just as soon as it’s a bit warmer than the room. The residual heat is perfect for rising.


4.) Let it rise until it has about doubled in bulk, around 50 – 60 minutes. To test if it’s “ripe,” gently press two fingers into the dough. If the indentations remain after you remove your fingers, you’re ready for the next step.


5.) Prepare the clay baker by oiling the inside of its top & bottom. (I use spray olive oil.) Sprinkle the corn meal in the bottom. Lightly flour your work surface, rolling pin, and hands.


6.) Roll the dough out to a rectangle about 12″ x 15″, sprinkling more flour as needed to prevent sticking. Working from the long side, gently roll the dough up into a log. Pinch the ends off towards the seam side, & place in the clay baker with the seam side down. Allow to rise a second time, about 30 minutes.


7.) The dough will have risen to just above the rim. Test for readiness this time by gently pressing the side of the dough. If a fingerprint remains when you remove your finger, you’re good to go. Use a very sharp knife or a razor blade to lightly score the top of the loaf. Replace the cover, and place in the cold oven.


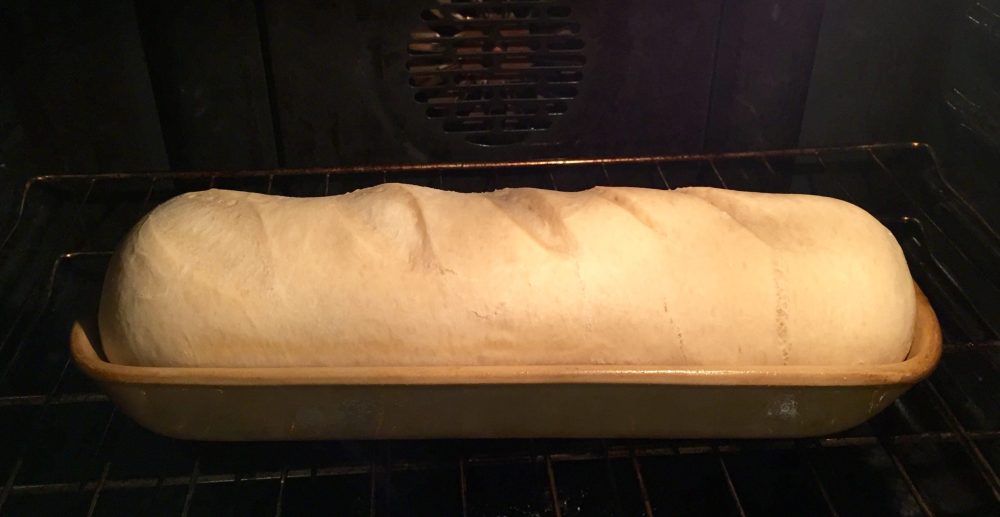
8.) Turn the oven on to 400°F. Bake for about 15 minutes, then remove the lid. The bread should have risen some more, so that it mostly fills the baker. If it’s still not much higher than the edge of the baker’s bottom, return the lid for a few minutes more.
9.) Bake another 10 minutes with the lid off, until the top of the loaf is a deep, golden brown. Remove from oven to a wire cooling rack, and let cool about 5 minutes before turning out of the clay baker onto the cooling rack. Let cool nearly to room temperature before slicing. (Good luck with that. I think it’s the hardest part of the whole process!)


French Honey Bread
Ingredients
1 cup + 1 Tbsp water
1 Tbsp honey
1 Tbsp olive oil
1 tsp sugar
¾ tsp salt
3 cups bread flour
2 tsp yeast
1 Tbsp corn meal
Directions
1.) Mix the first 7 ingredients (everything but the corn meal) with the paddle of the stand mixer until blended, just a couple of minutes. Switch to the dough hook, and knead until the dough becomes smooth and elastic, about 5 minutes. Let the dough rest for 10 minutes, then knead for another 5 minutes or until elastic.
2.) Oil or grease a large bowl. Form the dough into a ball, pinching it together at the bottom, and place the ball smooth side down in the bowl. Roll it around a bit to make sure the smooth sides are oiled, then turn it right side up. Cover the bowl with an oiled lid or an oiled piece of plastic wrap. Set in a warm spot to rise.
3.) Let it rise until it has about doubled in bulk, around 50 – 60 minutes.
4.) Prepare the clay baker by oiling the inside of its top & bottom. Sprinkle the corn meal in the bottom. Lightly flour your work surface, rolling pin, and hands.
5.) Roll the dough out to a rectangle about 12″ x 15″, sprinkling more flour as needed to prevent sticking. Working from the long side, gently roll the dough up into a log. Pinch the ends off towards the seam side, & place in the clay baker with the seam side down. Allow to rise a second time, about 30 minutes.
6.) The dough will have risen to just above the rim. Use a very sharp knife or a razor blade to lightly score the top of the loaf. Replace the cover, and place in the cold oven.
7.) Turn the oven on to 400°F. Bake for about 15 minutes, then remove the lid. The bread should have risen some more, so that it mostly fills the baker. If it’s still not much higher than the edge of the baker’s bottom, return the lid for a few minutes more.
8.) Bake another 10 minutes with the lid off, until the top of the loaf is a deep, golden brown. Remove from oven to a wire cooling rack, and let cool about 5 minutes before turning out of the clay baker onto the cooling rack. Let cool nearly to room temperature before slicing.

3 Comments Add yours