

Fresh is best! Always. It is well worth a little extra time & effort to prepare fresh pumpkin for your pies & other baking. The flavor is brighter and the texture is less dense than canned pumpkin, making for much better baked goods. Of course, you can also serve it as a vegetable, just like any other winter squash. It makes great baby food, too – just freeze some in an ice cube tray. When my kids were babies, they all loved pumpkin, even the one who now says it’s not one of her favorites (that’s genetic.)
The best pie pumpkins are smaller than jack-o-lantern pumpkins. Those are bred for size alone, with no regard for taste. You don’t need that much anyway, unless you’re baking for an army (in which case, even I might be tempted to go with canned.) You want the pumpkins that are bred for food, not show. One about 6″ in diameter will easily give you enough for one pie, maybe two. If you can get them at a farmers’ market, so much the better. Did I mention? Fresh is best. Always. Your grocery store pumpkins were probably harvested before full ripeness so they’d travel & keep well. Plus, if you’re unsure, a farmer can help you choose. You want one that’s a nice, deep orange, with no green. No soft spots, either.
It’s a good idea to get your pumpkins & cook them now, freezing the cooked pumpkin until it’s needed. If you wait too long, your pumpkins will get stringy & won’t be as fresh & flavorful.
Be very careful cutting. You’re going to be cutting the pumpkin crosswise, so it will be a little wobbly. You can roll up a towel to make a little nest for it if you want. It won’t actually make it stable, but it helps a little.


The main reason I like to cut the pumpkin is that the cut side caramelizes beautifully in the oven. It adds just that little bit of extra-yummy flavor. If you don’t feel you can safely cut the pumpkin, don’t worry – you can cook it whole. That bit of extra flavor is not worth injuring yourself. You’ll need to add to the cooking time, & be careful to let it cool completely before handling.
Here’s all you need to do:
1.) Preheat the oven to 325°F. Wash & dry the pumpkin. (If you’re tempted to skip this step, see my post on Guacamole). Carefully cut the pumpkin crosswise.

2.) Scoop out the seeds & strings.

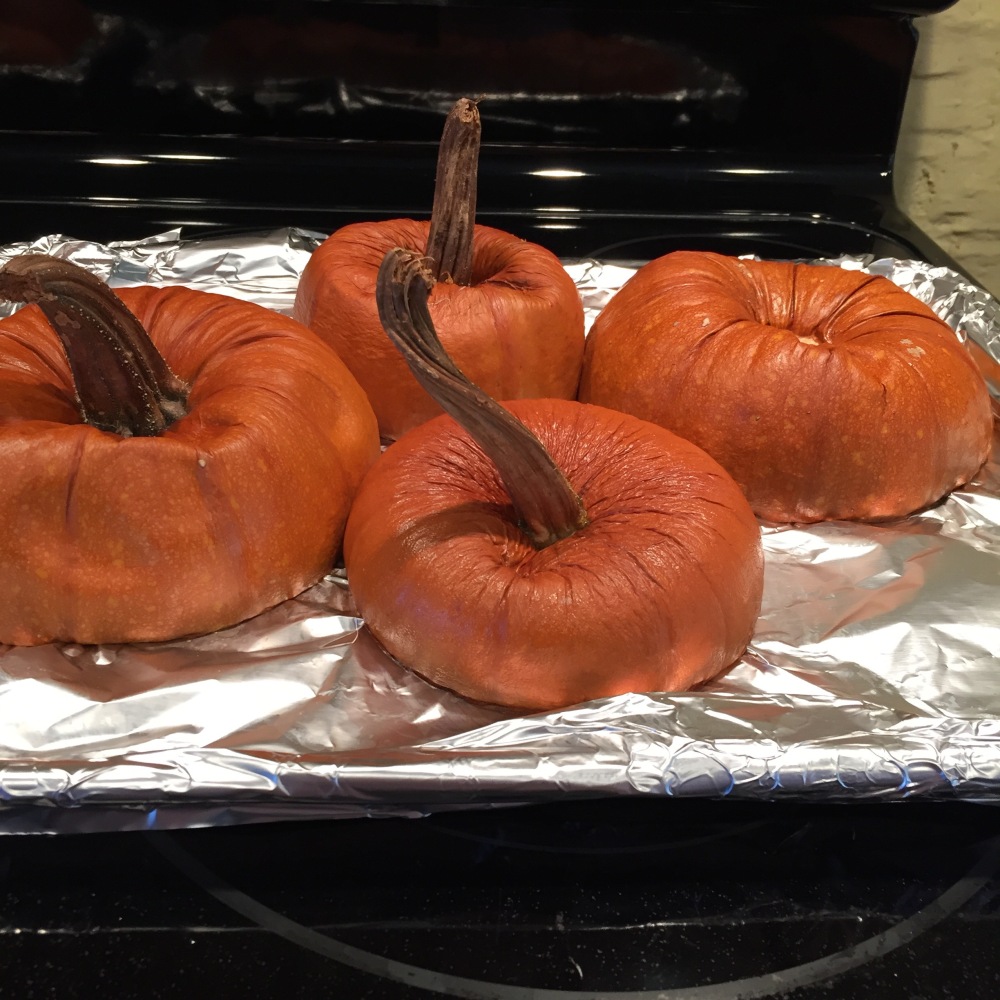
3.) Place cut side down on a rimmed baking sheet. Bake for 1 hour. You can cut this back to 45 minutes if your pumpkin is 4″ or less. When it’s done, it will easily dent when you press with a finger.
Why is there Gojo in the photo? Because raw pumpkin leaves a weird film on your skin, & I find Gojo does a good job of getting it off when regular hand soap doesn’t. If you don’t have any, try rubbing some salt on your fingers before washing.

4.) Remove from the oven, and let cool for an hour.
5.) Scoop the cooked pumpkin out of its shell (see all that beautiful caramelization?), transfer to the bowl of your food processor, and process until smooth.


6.) Place a small freezer bag in a glass, with the opening folded over the outside. Measure 1 or 2 cups pumpkin (for muffins or pie, respectively) into the bag. Lift the bag out, squeeze out all the air, & seal. Mark the bag so you’ll know what’s what later, lay in a flat pan, & freeze. Once frozen, you can stack several together in your freezer. When you’re ready to bake, let the pumpkin thaw in the refrigerator overnight.


Fresh Pumpkin
Directions
1.) Preheat the oven to 325°F. Wash & dry the pumpkin.
2.) Scoop out the seeds & strings.
3.) Place cut side down on a rimmed baking sheet. Bake for 1 hour. You can cut this back to 45 minutes if your pumpkin is 4″ or less. When it’s done, it will easily dent when you press with a finger.
4.) Remove from the oven, and let cool for an hour.
5.) Scoop the cooked pumpkin out of its shell, transfer to the bowl of your food processor, and process until smooth.
6.) Place a small freezer bag in a glass, with the opening folded over the outside. Measure 1 or 2 cups pumpkin (for muffins or pie, respectively) into the bag. Lift the bag out, squeeze out all the air, & seal. Mark the bag so you’ll know what’s what later, lay in a flat pan, & freeze. Once frozen, you can stack several together in your freezer. When you’re ready to bake, let the pumpkin thaw in the refrigerator overnight.

Can you make the pie the same day you cook the pumpkins? I have a large pumpkin WILL that be ok?
LikeLike
Yes, you absolutely can bake the pie the same day! I have made pie from bigger pumpkins. They sometimes need a bit longer cooking, unless the walls are fairly thin. Flavor-wise, it depends partly on the variety, & partly on how old it is. It’s certainly worth a try!
LikeLike
Thank you so much. I do not care for canned pumpkin at all lol. However my mother in law years ago made a pumpkin custard and it was delicious I ate that. Thank you once again
LikeLike
I’d let the pumpkin cool before making the filling, just to make sure the eggs don’t curdle. I hope you enjoy it!
LikeLike
I’m putting it in the fridge till tomorrow I need to get some things first that I don’t have.
LikeLike
Don’t worry if it looks like some water separates out overnight. Just give it a good stir, & you’re good to go. Enjoy!
LikeLike
Thank you.
I would be asking my mom but she passed away will be 5 yrs tomorrow.
LikeLike
Oh, I’m so sorry! That’s never easy. I’m glad I could help a little, with pumpkin, anyway 😊
LikeLike
Me too.
LikeLike